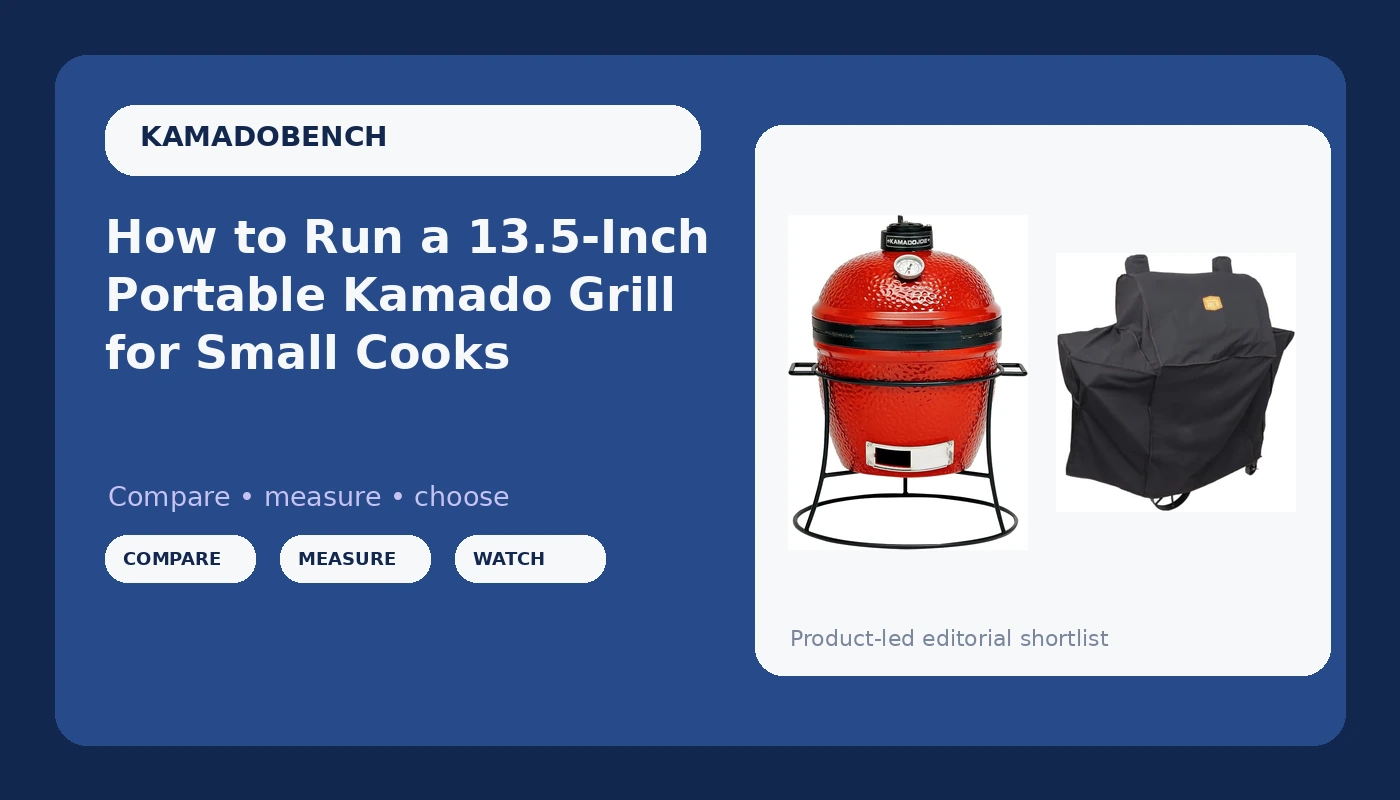
Most people buy a portable kamado grill, cook two ribeyes, and then park it in the corner because the temperature ran to 500 while they were not looking. That is not the grill's fault. A small ceramic cooker is the most temperature-stable thing you can put on a patio, and it is also the most unforgiving if you treat the vents like a light switch.
I have been cooking competition barbecue for 18 years, the last stretch of it out of Savannah, Georgia, and I keep a 13.5-inch kamado on the patio for the cooks that do not justify firing up the big egg. Two briskets a week go on the full-size cookers. Weeknight chicken, a single pork butt, and a couple of steaks go on the small one.
This is the workflow I run on it, start to finish, plus the two pieces of gear that actually earn their space in a small-cook setup.
Why you should trust me
I have cooked on everything from a rusted-out offset to a $4,000 ceramic egg. Over the last three years I have put six kamados through their paces, including a full storm season here on the Georgia coast, and every one of them carries a temperature log. My rule is simple: no review without 12 brisket cooks and the log to back it up. That rule has cost me some free gear and saved me a lot of arguments.
I also do not do set-and-forget claims, because a kamado needs attention, period. What I will give you is exactly how I set the vents, when to walk away, and when to stand there with a thermometer in your hand.
How I picked and how I tested
The gear here is not a ranking of every kamado on the market. It is the short list of what makes a small-cook setup work: one small ceramic cooker, and one way to keep the other machine in the yard dry.
I ran the small kamado through a dozen low-and-slow cooks and a pile of hot-and-fast ones, with a full temperature log on each. Three things mattered: how long it held 250 degrees without a vent touch, how much charcoal it burned doing it, and whether the gasket survived a Savannah summer. Everything else on the spec sheet is marketing.
The one measurement worth understanding before you start is the gap between your dome thermometer and your grate. The dome reads the air at the top of the lid. Your meat sits on the grate. On a small kamado that gap is bigger than most people assume, and it is the reason a cook that "held 250 all day" comes out dry.
What a 13.5-inch kamado can and cannot do
Here is the honest math on a 13.5-inch grate. You can feed two to four people. A 7-pound pork butt fits. A spatchcocked chicken fits with room to spare. Two racks of ribs fit if you use a rib rack, and four steaks fit if you cook them in one pass and rest them while you plate.
What does not fit: a full packer brisket, a whole turkey, two butts at once, or anything you planned to feed eight people with.
I called 13-inch kamados toys for years. Then I started cooking on one on Tuesdays and realized the problem was never the size, it was that people bought them expecting full-size capacity. A 13.5-inch kamado is a weeknight and small-crowd cooker. A big ceramic is a commitment to feeding a crowd. Those are different tools, and knowing which one you are buying is the whole decision.
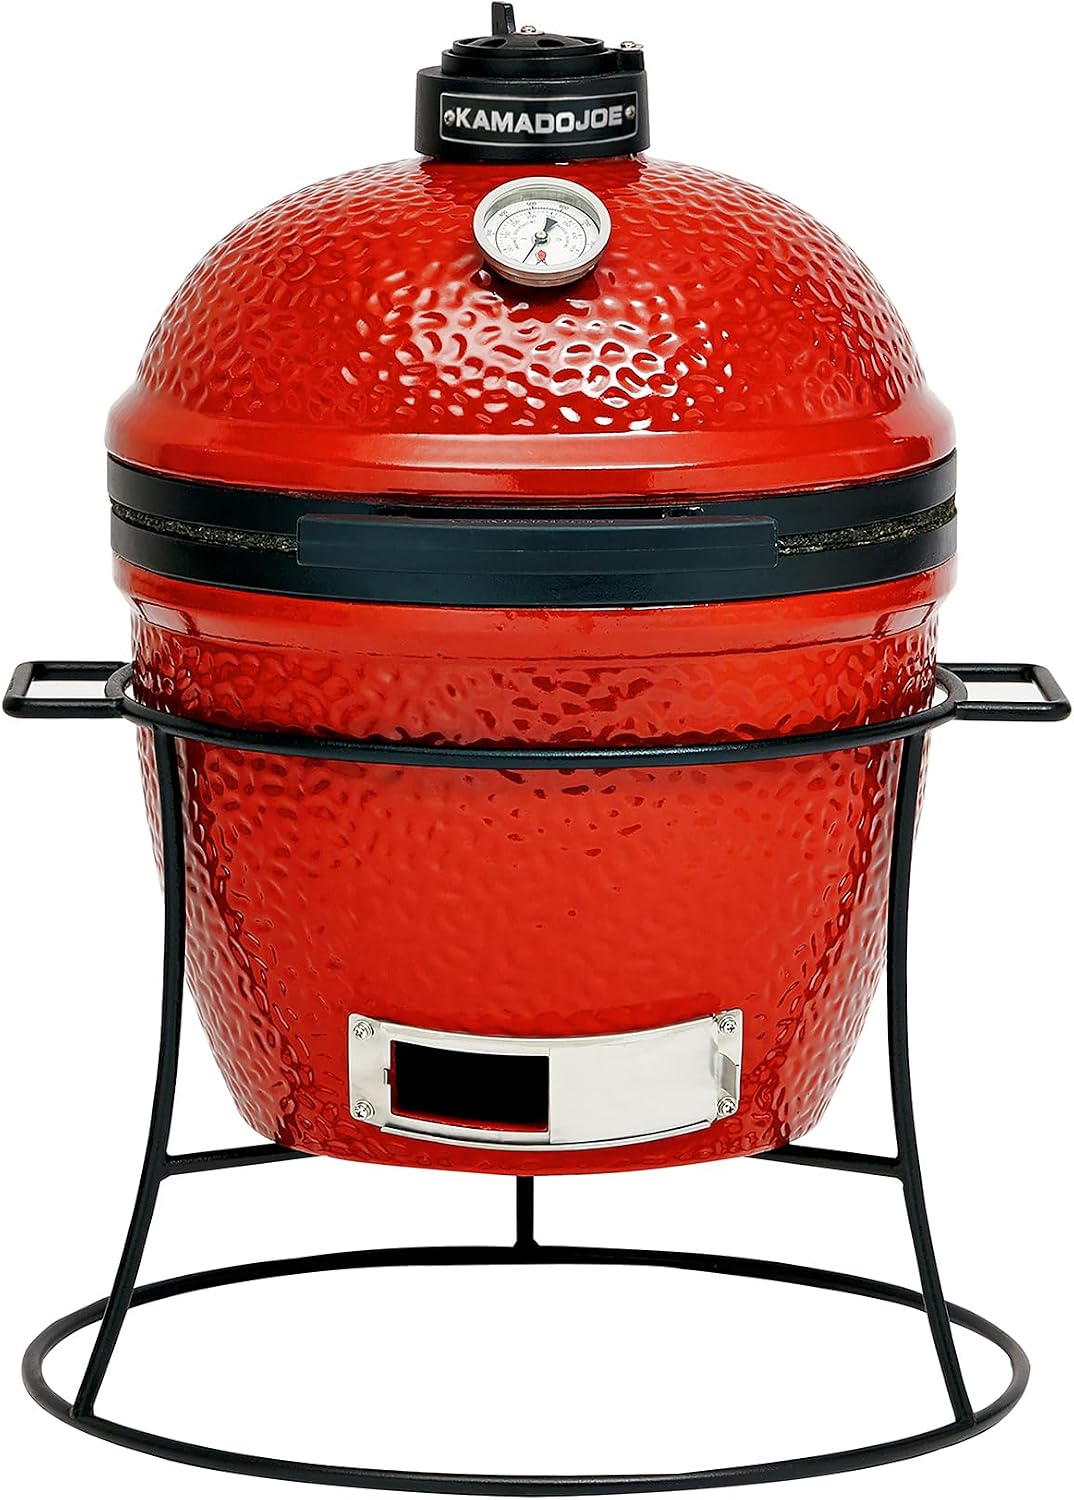
The small kamado I would start with: Kamado Joe Joe Jr 13.5-inch Portable Ceramic Charcoal Grill with Grill Stand, Stainless Steel Cooking Grate, Heat Deflectors and Ash Tool in Red, Model KJ13RH
 Visit on Amazon →
This is the small ceramic I keep coming back to. The ceramic is thick enough to behave like a kamado should, and that is the entire test. It ships with the heat deflectors, so you can run indirect without buying anything else, and it ships with an ash tool, which sounds like a throwaway until you are cleaning out a firebox the size of a salad bowl.
The stand matters more than the spec sheet suggests. You can roll it to the driveway for a tailgate, or park it next to the big cooker and run it as a second oven at a different temperature. Check current Amazon price before you commit, because this is not a budget-tier purchase and I would rather you know that going in.
Flaws but not dealbreakers: The grate is small, so a big cook is out. It is one cooking zone rather than a divide-and-conquer setup, which means you manage heat with the vents instead of moving meat between zones. And like every ceramic kamado, the firebox is a wear item. It will crack eventually. Read the warranty language on the firebox before you buy, because that clause decides whether you are still cooking on this thing in year eight.
Anyone cooking for one or two people most nights, or adding a second cooker to a yard that already has a big one, will get years out of it.
Setting the vents is 90% of the job
Everything that goes wrong on a small kamado traces back to the vents. This sequence works the same whether you are chasing 250 for a pork butt or 400 for chicken.
Step one: Fill the firebox and light one spot. Lump charcoal, not briquettes, filled to the top of the firebox. Light it in one place, not five. One lit spot grows into a controlled fire. Five lit spots turn the whole basket into a bonfire, and you will spend an hour waiting for it to calm back down.
Step two: Bottom vent wide open, lid open, until the top coals catch. Ten minutes or so. You are building a small hot core, not a furnace.
Step three: Close the lid and climb to within 50 degrees of target with the bottom vent still open. Do not start choking the fire yet. You want the ceramic warming up while the fire is clean and hot.
Step four: Close the bottom vent in stages. A kamado overshoots. If you slam the vents shut the moment you hit 250, you will sit at 180 and fight to climb back. Close it halfway, wait ten minutes, read the thermometer, close it a little more. The bottom vent is your coarse adjustment.
Step five: The top vent is the fine adjustment. Once you are within 25 degrees, the bottom vent stays put and the top vent does the rest. Small moves. An eighth of an inch on the daisy wheel is a real temperature change on a cooker this size.
Step six: Heat soak for 30 to 45 minutes. The ceramic has to come up to temperature, not just the air inside it. Put meat on at minute five and the dome will read 250 while the grate sits far below it, and the ceramic will keep pulling heat out of the fire for the next hour. This is the step everybody skips, and it is the step that decides whether your cook sails through or stalls at hour nine.
Step seven: Trust a grate probe, not the dome thermometer. Clip a digital probe at grate level and cook to that number. The dome tells you about the air at the top of the lid, which is not where your food is.
Step eight: Learn the vents before you buy a controller. Temperature controllers are worth it for overnight cooks, and I use one when I am sleeping. But you should be able to hold 250 for six hours by hand first. A fan on a kamado you do not understand just makes the mistakes more expensive.
A two-person cook, start to finish
Here is what an actual cook looks like on this cooker.
Pork butt at 250, indirect. Deflector in, drip pan under the grate, butt on, probe in the thickest part away from the bone. Plan on a long afternoon. Do not open the lid to look. Every peek dumps heat out of a small ceramic, and a small ceramic takes longer to recover than a big one.
Chicken at 375 to 400, indirect then direct. Deflector in for most of the cook, then pull it and finish over the coals to crisp the skin. This is where a small kamado beats a kettle: you can hold 400 steady for an hour without adding fuel.
Steaks, screaming hot, direct. Deflector out, both vents open, let it run to 500 or better. Two minutes a side and a rest. With a grate this size, work in batches rather than crowding it.
Shutting down. Close both vents all the way when you are done and let the fire choke itself out. The leftover lump is there tomorrow. A kamado that gets shut down properly will cook three or four meals on one load of charcoal, and that is the quiet reason a ceramic beats a kettle on a Tuesday night.
The other half of the setup: keeping the gear dry
I will be straight with you. Most people who own a small kamado also own something with a hopper and a controller sitting next to it, and that machine is the one that suffers when it rains for a week straight.
A kamado shrugs off weather. The ceramic does not care, the lid seal does the work, and the worst case is a little surface rust on the bands if you ignore them for a decade. A pellet grill is a different animal. The hopper, the auger, and the controller are all places water gets in and stays in.
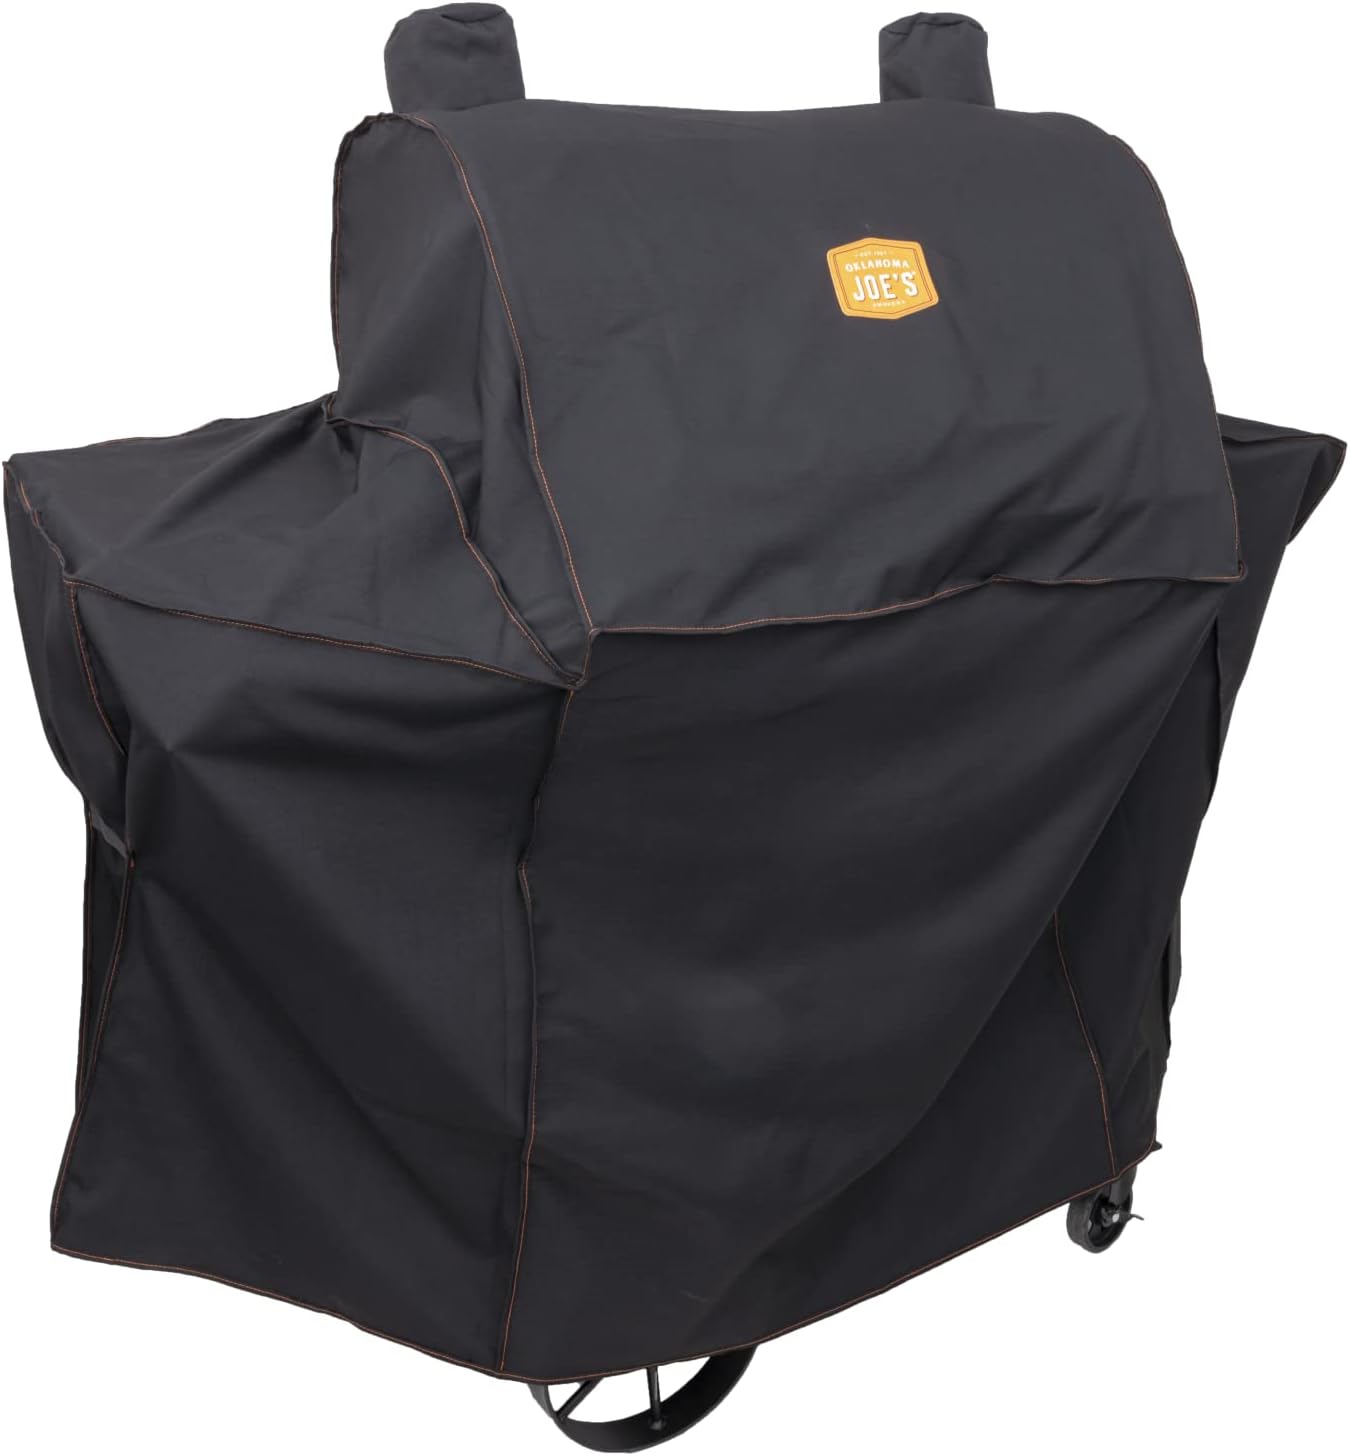
The cover for the pellet grill in the same yard: Oklahoma Joe's Rider 900 & Rider DLX Pellet Grill Cover
 Visit on Amazon →
This one is cut for the Oklahoma Joe's Rider 900 and Rider DLX pellet grills. It is not a kamado cover and it will not fit a 13.5-inch ceramic, so do not buy it expecting that. It belongs in this guide because the pellet grill beside your kamado is the machine that needs protecting, and a wet hopper turns pellets into a solid block you will be chipping out with a screwdriver. Check current Amazon price and compare it against what a replacement controller or auger motor would cost you.
Flaws but not dealbreakers: It fits those two models and nothing else, so measure your cooker against the Rider before you order. It is also a cover, not a case. If your grill lives under a roof and out of the wind, you may not need it at all.
Anyone running a Rider 900 or a Rider DLX outdoors year round should have one on it. If the kamado is the only cooker in your yard, put that money into charcoal instead.
The competition and why it lost
The Kamado Joe Classic is the best value in the full-size kamado market, and I will argue that with anyone: the divide-and-conquer system and the warranty beat anything near the price. It is not in this guide because it is a bigger cooker than the one we are talking about, and this is a small-cook guide.
The Big Green Egg is the benchmark. The ceramic is superb and the resale value is real, but you pay for the name, and the small Egg does not come with the same package of extras. Char-Griller's kamado is the best budget entry, with steel band construction that holds up better than the price suggests. Vision Grills makes a solid mid-tier option, and the metal exterior means no cracked ceramic, though you give up some insulation in the trade. Pit Boss makes a great first kamado, and the temperature control is forgiving for beginners.
What I would skip: the cheap kamado-style grills from the hardware store. The ceramic is thin, the gaskets fail, and the firebox cracks inside a season. That is not a bargain, it is a rental.
What this all costs
The grill is the one-time cost. Check current Amazon price on the product page, then do the arithmetic that actually matters: divide that number by the cooks you will realistically do in a year. If you cook twice a week, that is over a hundred cooks, and the per-cook number gets small fast.
Charcoal is the recurring cost, and a small kamado sips it compared with a full-size cooker, because the firebox is small and you are choking the fire down for most of the cook. The cover is cheap insurance on the pellet grill. There is no temperature controller in this guide on purpose. Learn the vents first, buy the fan later if you start doing overnight cooks and want to sleep through them.
Total it up: one small ceramic cooker, a bag of lump charcoal a month if you cook a few times a week, and a cover for the other machine in the yard. That is the whole setup. The rest is patience and a thermometer you trust.
That is the job. A small kamado will hold 250 for as long as you give it something to burn. Set the vents in stages, let the ceramic soak, and cook like you mean it.