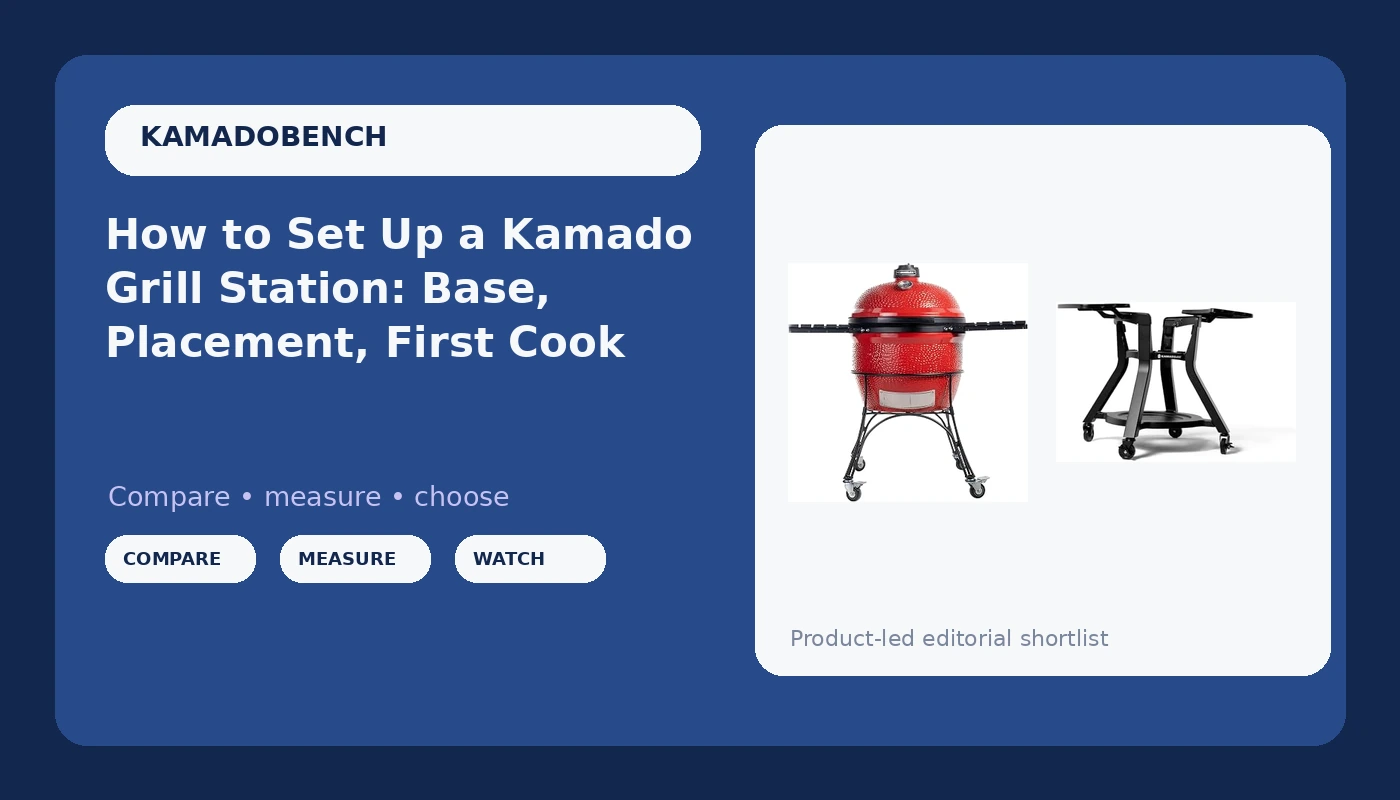
Most people treat a kamado grill setup like an afterthought. They roll the crate off the truck, drop the ceramic on the deck, light a chimney of lump, and start cooking the same afternoon. Then the lid leaks, the gasket peels before the season ends, and the temperature swings 75 degrees every time the wind shifts.
I have cooked competition barbecue for 18 years out of Savannah, Georgia. I run two briskets a week, every week, year round, and I have done it through thunderstorms and through January cold snaps. Along the way I have spent three years and six kamados learning which ceramics hold temperature and which ones turn good meat into charcoal.
The cooker is only half of a kamado grill setup. The other half is where it sits, what it sits on, and whether you spent 45 minutes learning the vents before you spent real money on beef.
Why you should trust me
I am not someone who unboxes a grill for a weekend and writes it up on Monday. I cook on kamados year round because that is how I feed my family and how I practice for contests. I have cooked on a rusty offset in a parking lot and on a four-figure ceramic egg, and the same lesson shows up on both: a kamado's whole job is holding temperature, and everything else is marketing.
I keep temperature logs. I keep a digital thermometer collection that looks like a bomb squad's tool kit. When something fails, I write down how it failed and how long it took, because "it cracked" is not useful information and "it cracked on the third cold morning" is.
What I will not do is call any cooker "set and forget." A kamado needs attention. Anyone who says otherwise is selling something.
What a kamado setup has to do
Before you buy anything, decide what the setup is supposed to accomplish. Four questions, in this order.
Does it hold 250 degrees for 12 hours through weather? That is the only test that matters. A kamado that drifts when the wind picks up is a smoker you cannot trust with an overnight cook.
Is the ceramic thick enough to matter? Two cookers at the same price can be very different pieces of ceramic. Thick walls mean slow, stable heat. Thin walls mean you fight the fire all night and lose.
Does the warranty cover the firebox without a fight? The firebox is the ceramic bowl that holds the charcoal, and it cracks eventually. The question is not whether, but when, and whether the replacement shows up without a notarized confession.
Would you trust it with a brisket you paid too much for? If the answer is no, the setup is not finished.
The base belongs in that list too, and most people leave it out. A cooker that sits on wet ground, or on a surface that rocks, or at a height that makes you crouch, is a cooker you will stop using by October. Placement is not decoration. It is part of the temperature control.
The cooker and the stand
Two pieces do most of the work here: the ceramic itself and whatever holds it off the ground. Skip either one and you will pay for it later.
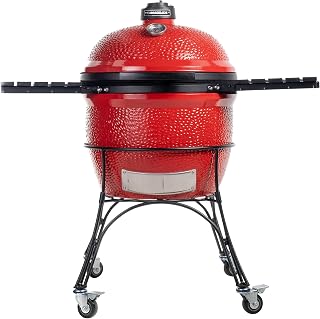
The main cooker: Kamado Joe Big Joe Series I 24-inch Ceramic Charcoal Grill and Smoker
 Visit on Amazon →
This is a 24-inch ceramic cooker with 450 square inches of cooking surface, stainless steel grates, side shelves, and a cart included. That size is why I point people here for a family setup. A 24-inch kamado gives you room to run two zones on the same grate, which is how you cook a pork butt on one side and a pan of beans on the other without juggling.
The side shelves matter more than they look. A kamado cook involves a chimney starter, a plate setter, a drip pan, a thermometer, and a pair of gloves, and every one of those needs somewhere to land that is not the ground.
Flaws but not dealbreakers: A 24-inch ceramic is heavy, and the lid will surprise you the first time you lift it. Assemble the cart, then get a second person to help set the cooker in place. Do not do the lift alone, and do not do it after two beers.
Anyone feeding a crowd, or anyone who wants one cooker to handle both a weeknight dinner and a weekend brisket, is the right buyer for this size.
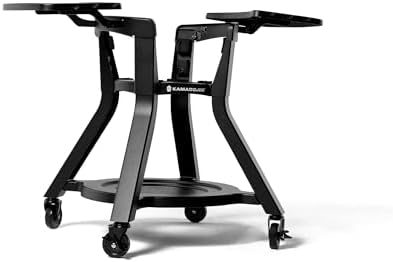
The small-kamado stand: Cart with Shelves for Joe Jr Small Kamado Grill
 Visit on Amazon →
If you run a small kamado as a second cooker, this black steel stand is the piece that keeps it off the pavers and up at working height. Shelves on a stand sound like a small thing until you are balancing a plate of chicken thighs on a fence post.
A small kamado is a great weeknight cooker. It is not a great floor cooker. Set it on a stand and it becomes a searing station you can roll next to the big one.
Flaws but not dealbreakers: This is built for the small Joe Jr footprint, so measure your cooker's base before you order. A 24-inch ceramic will not sit on it, and you would not want it to.
Anyone with a small kamado who is tired of crouching over the patio will get the most out of this.
The setup, step by step
Now the part that decides whether your first brisket is dinner or disaster.
Step one: pick the surface. Concrete, a paver pad, or a gravel pad. Not a wood deck, not artificial turf, not the mulch bed against the house. A kamado throws heat down as well as up, and grease finds its way out of the ash drawer eventually.
Step two: level it and give it air. A cooker that rocks will work the gasket seal loose over time. Get the pad level, and leave clearance on all sides so the vents can breathe. Nothing overhead either: no roof overhang, no low tree limb, no railing within reach.
Step three: assemble the stand or cart first. The cart goes together on the ground, empty, with room to flip it over. Then two people lift the ceramic into place. This is the step where people get hurt, and it is entirely avoidable.
Step four: check the gasket and the lid before the first fire. Open and close the lid a few times. It should meet the gasket evenly all the way around, with no gap at the hinge side. If the lid is off, adjust the bands before you cook, not after you have burned through a gasket.
Step five: load the firebox properly. Big lumps of hardwood lump charcoal, layered so air can move through the pile. Leave the dust and chips in the bag. No lighter fluid, ever. A chimney starter and a couple of paraffin cubes are all you need.
Step six: run a break-in fire. Light it, bring the dome up gently, and let it burn for an hour with no food in it. This cures the gasket and burns off manufacturing residue. Cooking on a brand new gasket before it has set is how you get a gasket that peels in a season.
Step seven: learn the vents. Bottom vent is the throttle. Top vent is the fine trim. Open the bottom a finger's width, set the top about halfway, and wait 15 minutes before you touch anything again. Chasing temperature with big vent moves is the most common beginner mistake. Make small changes, then wait.
Step eight: heat soak the dome. This is the step people skip. A kamado needs 30 to 45 minutes for the ceramic itself to come up to temperature, not just the air inside it. Put your hand on the outside of the dome. If it is warm but not hot, the ceramic is not ready. Cooking before the heat soak means the temperature drops the second cold meat goes on, and then you spend an hour fighting to get it back.
Step nine: cook something forgiving first. Chicken thighs, a pork butt, sausages. Not a brisket, and not a prime rib. Learn how your cooker behaves at 250 and at 350 before you stake an expensive piece of beef on it.
Vent control is 90% of kamado cooking
Everything above is preparation. This is the skill.
Temperature in a kamado is controlled by how much air gets in and how much gets out, and the two vents do different jobs. The bottom vent feeds the fire. The top vent controls how long the heat stays. Open the bottom too far and you get a hot, fast, dirty fire. Close the top too far and you smother the coals and get acrid smoke.
The rule I cook by: make one small change, then walk away for 15 minutes. A kamado responds slowly because the ceramic holds heat. If you adjust the vents every two minutes, you will overshoot, overcorrect, and end up with a cooker that swings 100 degrees while you sweat.
Wind is the variable nobody plans for. A kamado sitting in an open yard will read differently than the same cooker tucked behind a fence, and a gust that hits the top vent is a temperature spike you did not cause. That is another reason placement is part of the setup and not an afterthought.
When you can hold 250 for an hour without touching a vent, you are ready to cook overnight. That is also when a temperature controller starts to make sense. Controllers are worth it for overnight cooks. Learn the vents first anyway, because a controller fails eventually and you should be able to finish the cook without it.
What breaks first
Three things, in this order.
The gasket. The seal around the lid is the weak point on every kamado. When it fails, your temperature control fails with it, because air leaks past the lid and the fire gets a vote you did not give it. Keep the gasket clean, do not slam the lid, and check it after every long cook.
The firebox. The ceramic bowl that holds the charcoal cracks eventually. Sometimes it is a cold snap, sometimes it is a lump that popped, sometimes it is nothing you can point to. Keep the ash out of the bottom so the firebox is not sitting in a bed of grit, and register the warranty the week you buy.
The handles and the hardware. "Heat resistant" handles that burn your hand are a pet peeve of mine. Gloves are cheaper than a burn. Keep a pair hanging on the side shelf.
What I did not put in this guide
Big Green Egg is the benchmark. The ceramic is superb and the resale value is real, but you pay for the name. Char-Griller makes the best budget entry, and the steel band construction holds up better than the price suggests. Vision Grills is a solid mid-tier option: the metal exterior means no cracking, but you lose some insulation. Pit Boss ceramic is a fine first kamado, and the temperature control is forgiving for beginners.
What I would skip is the hardware store "kamado style" grill. The ceramic is thin, the gaskets fail, and the firebox cracks in a season. Saving money up front and replacing the cooker in two years is not saving money.
The math that matters
A kamado is a once-a-decade purchase, so the number on the tag is not really the cost. The cost is the number of cooks you get out of it, and that number is decided by setup and by vent control, not by brand.
Do the setup right and you will cook on it in January, in the rain, and on a Tuesday night when nobody is coming over. Skip the heat soak, ignore the gasket, fight the vents, and you will sell it on a marketplace site in 14 months with a story about how kamados are overrated.
Check current Amazon price on the cooker and the stand, then spend the 45 minutes it takes to break the thing in properly. That is the whole job. The ceramic can hold temperature for 12 hours. Your job is to give it a reason to.