Most kamado owners treat the griddle insert as an afterthought, a slab of cast iron that lives in the garage until somebody wants smash burgers. That is backwards. Kamado griddle cooking is the fastest way to get a restaurant flat-top out of a cooker you already own, and it is the reason a lot of people stop dragging the propane griddle out of the shed.
The catch is that a kamado is not a gas griddle. There is a fire under the iron, a ceramic shell that stores heat, and two vents that decide how much of that heat actually shows up at the cooking surface. Get the fire and the heat soak right and the insert runs like a diner flat-top. Skip them and you get sticking, flare-ups, and a dome temperature that will not sit still.
This is the setup I would walk a friend through in my driveway. It needs two pieces of hardware: a ceramic cooker with enough grate width to hold a half-moon insert and still leave open grate for direct cooking, and the insert itself.
Why you should trust me
I have been cooking competition barbecue for 18 years and running a backyard test kitchen for most of that, two briskets a week, every week, rain or shine. I have cooked on everything from a rusted offset to a ceramic egg that cost more than my first truck, and I have spent years figuring out which cookers hold temperature through a Georgia thunderstorm and which ones turn a $90 brisket into charcoal.
Here is the lens I put on every piece of kamado gear. Does it help the cooker hold temperature? Is the material thick enough to matter? Does it survive a real season of use? If the answer to those is no, it does not make the list.
How I picked what goes in this guide
Flat-top cooking on a kamado comes down to two decisions: what you cook on, and what you cook on top of.
For the cooker, grate real estate comes first. A half-moon insert eats half the grate, so a cooker that is already tight on width leaves you nowhere to sear. Shape matters too. An oval cooker can run two zones across the long axis, which is exactly what you want when half the grate is cast iron and half is open fire.
For the insert, cast iron is the only material worth buying. Aluminum heats fast and dumps its heat the second food lands on it. Cast iron holds the thermal mass, and that mass is the entire reason to put a griddle in a ceramic cooker. Reversible is a bonus, because the flat face and the ribbed face do different jobs.
Then fit. This is where people get burned. Half-moon inserts are cut for a specific grate diameter, and one that does not sit flat will rock, pool oil to one side, and burn your seasoning unevenly. Measure before you order.
What you need before the first cook
Gather this before you light anything:
- A ceramic kamado with enough grate width for a half-moon insert
- A reversible cast iron half-moon griddle
- A heat deflector sized to your cooker
- Lump charcoal, not briquettes
- A drip pan or a sheet pan for the fat
- Long-handled tongs and a real pair of gloves
- An instant-read thermometer
That is the whole kit. Now the two pieces that matter most.
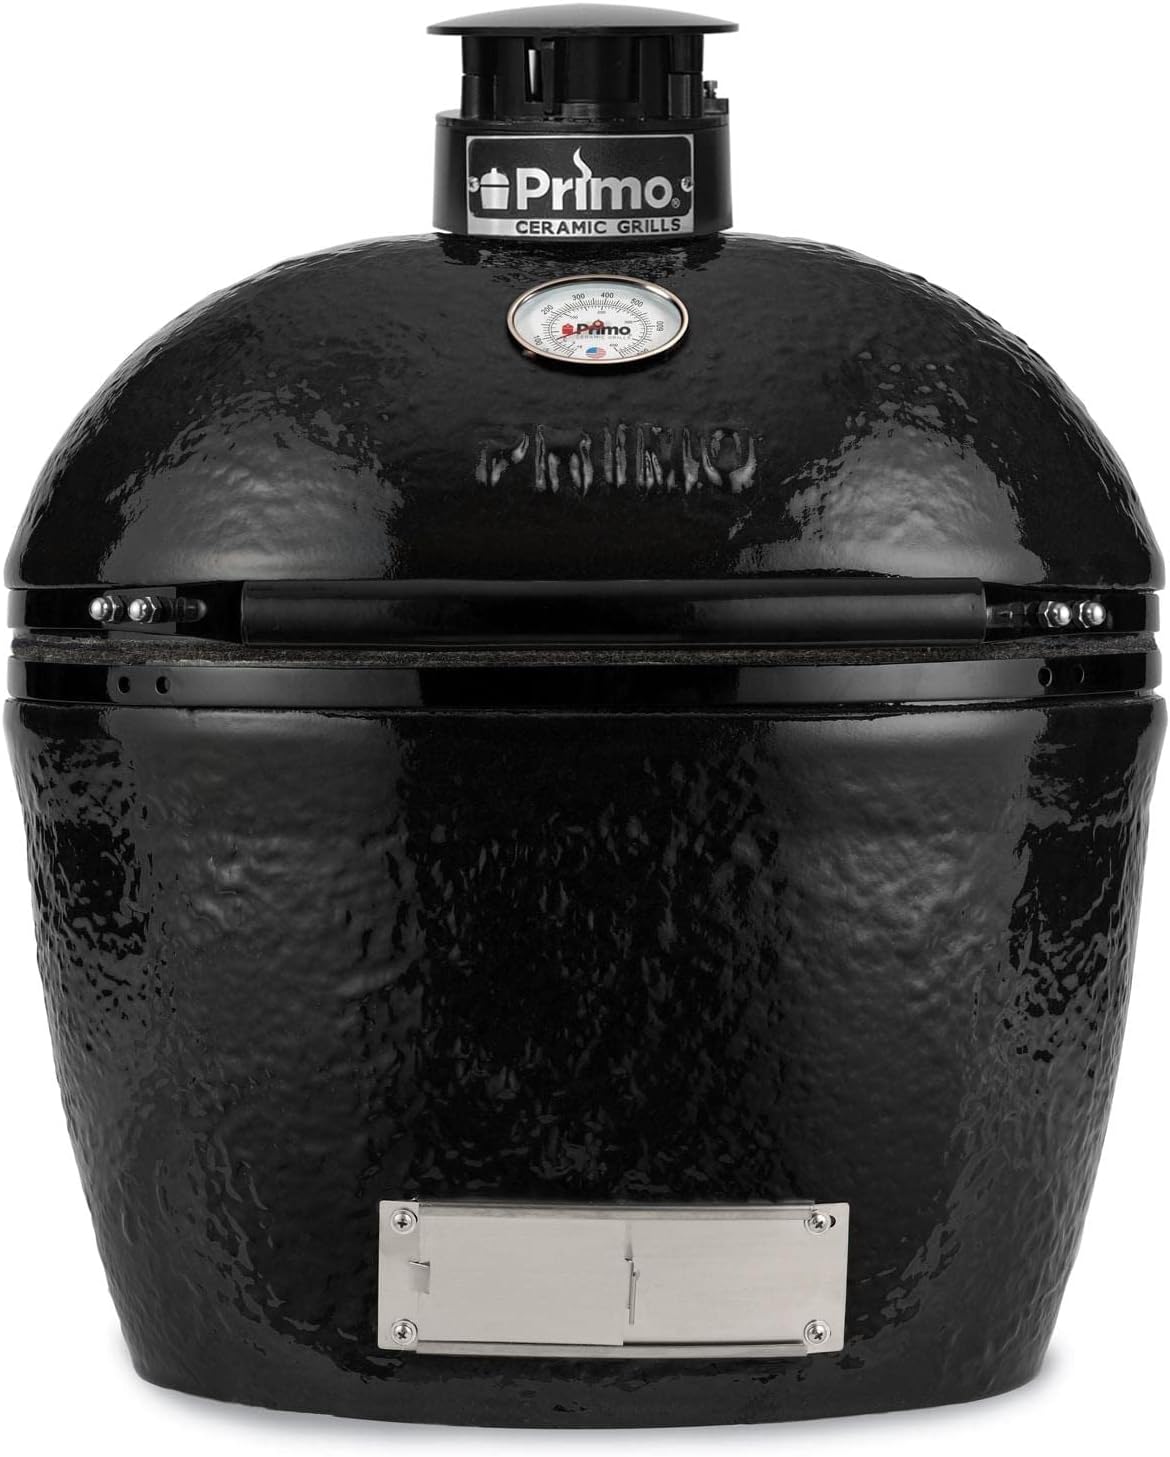
The cooker: Primo Oval Large 300 Ceramic Kamado Grill with Stainless Steel Grates - PGCLGH (2021)
 Visit on Amazon →
The oval footprint is why this cooker works for griddle cooking. On a round kamado, a half-moon insert plus a deflector eats nearly the whole grate, and you are left with a flat-top and nothing else. The oval gives you a long axis to work with, so you can run the insert on one side, keep open grate on the other, and bank the fire to match.
The stainless grates are the other thing I like here. Cast iron grates are heavier and hold more heat, but stainless is easier to keep clean and it does not rust when you leave it out overnight, which matters more than people admit when a griddle cook turns into a late dinner. Check current Amazon price.
Flaws but not dealbreakers: An oval cooker has a learning curve. The fire behaves differently across the long axis, and you will chase temperatures for the first few cooks until you learn where to pile the lump.
Anyone who wants true two-zone cooking on a ceramic cooker, griddle on one side and open grate on the other, is the right buyer for this.
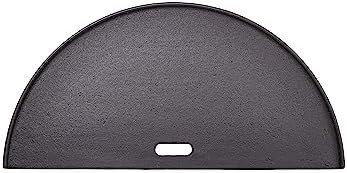
The insert: Kamado Joe Half-Moon Cast Iron Reversible Flat-Top Griddle with Smooth and Ribbed Surface for Classic Joe Charcoal Grill and Smokers in Black, Model KJ-HCIGRIDDLE
 Visit on Amazon →
This is a slab of cast iron cut in a half-moon, smooth on one face and ribbed on the other. The smooth side is for eggs, smash burgers, pancakes, and anything that needs full contact with hot iron. The ribbed side is for anything you want lifted out of the grease, chicken thighs, sausage, vegetables, and it leaves marks while it does it.
Because it is a half-moon, it leaves the other half of the grate open for direct grilling. That is the whole trick. You are not converting your kamado into a flat-top, you are adding one next to the fire you already have.
The weight is the point. It is heavy enough to hold a steady surface temperature once the ceramic is heat soaked, which is what separates it from a thin steel plancha. Check current Amazon price.
Flaws but not dealbreakers: Cast iron needs maintenance. Leave it wet and it rusts. Scrub it with soap and a scouring pad and you strip the seasoning and start over. And because it is cut for the Classic Joe grate, check the fit on your cooker before you commit. It needs to sit flat, not rock.
Anyone running a Classic Joe, or a round grate of similar size, who wants real flat-top capability without buying a second cooker will get their money's worth here.
The step-by-step setup
Step one: season the iron before it ever sees food. Warm the griddle gradually rather than slapping it on a hot fire. Coat it with a thin film of canola or flaxseed oil, all over, including the underside and the edges, then put it in the kamado at around 375 degrees with the dome closed for an hour. Let it cool inside the cooker. Repeat two or three times. Thin coats, never a puddle. A griddle that goes on wet and thick ends up gummy, and gummy seasoning flakes off onto your food.
Step two: build the fire. Fill the firebox with lump charcoal and light it in two or three spots so it burns evenly. Leave the bottom vent wide open until the coals are going, then start closing down. Briquettes work, but they throw more ash and they smell like a chemistry set. Lump is what a kamado wants.
Step three: put the deflector in. Set your heat deflector, plate setter, or whatever your cooker calls it, in place before the griddle goes on. You want radiant heat coming up through ceramic, not a flame licking the bottom of the iron. This single step is the difference between controllable flat-top heat and a scorched griddle.
Step four: heat soak the ceramic. Set the griddle on the grate, close the dome, and walk away for 30 to 45 minutes. This is the step everybody skips and it is the one that matters most. The ceramic walls, the fire ring, and the cast iron all have to come up to temperature together. If you put food on a griddle that is sitting in a cold cooker, the iron drops 100 degrees the second the meat lands and you spend the rest of the cook chasing it.
Step five: dial the vents for flat-top work. Bottom vent is the gas pedal, top vent is the trim. For most flat-top cooking you want the dome sitting somewhere between 400 and 450 degrees, and you get there by opening the bottom vent and using the top vent for fine adjustment. For smash burgers and searing, push toward 450 to 500. For eggs and pancakes, back it down to 350 and be patient.
Step six: load the griddle. Wipe the surface with a thin film of oil, wait for it to shimmer, then add food. Do not crowd it. Cast iron recovers heat slowly, and a half-moon insert has less surface area than a full griddle, so four burgers at a time is a real number, not a suggestion.
Step seven: clean it while it is still warm. Scrape the surface with a metal spatula or a grill brush, wipe it down with a folded rag held in tongs, and lay on a thin coat of oil. Warm iron takes oil and holds it. Cold iron just sits there. Do this every time and the griddle gets better with age.
Mistakes that ruin a kamado griddle cook
Cold iron on a hot fire. Cast iron does not like thermal shock. Warm it gradually or you will hear a pop you cannot un-hear.
No deflector. Direct flame under a griddle gives you a hot ring in the middle and dead spots everywhere else. The seasoning burns off the underside and the food burns on top.
Soap and scouring pads. Dish soap strips seasoning. A scouring pad takes the surface with it. Hot water, a stiff brush, and oil are all a cast iron griddle needs.
Chasing temperature with the top vent only. If the dome is running hot, the bottom vent is the one to close. Closing the top vent starves the fire and you get stale, acrid smoke that lands on your food.
Leaving the griddle out overnight. Cast iron and Savannah humidity are not friends. Bring it in, or at least wipe it dry and oil it before you walk away.
Crowding the surface. The whole advantage of a kamado is heat retention, and you lose it the moment you cover the iron with cold food.
What you are actually paying for
The cooker is the lifetime purchase. It is the piece you will still be lighting in ten years, and the piece that decides whether you can run two zones at once. The insert is the cheap upgrade that changes how you use a cooker you already own.
Check current Amazon price on both rather than trusting a number you saw last season, because kamado pricing moves with the calendar. What does not move is the math on how often you will use it. A kamado that only comes out for holiday briskets is a bad purchase at any price. The same cooker that runs a Sunday flat-top breakfast, a Tuesday dinner of chicken thighs, and a Saturday brisket is a bargain.
The short version
Season the iron. Build an even fire. Deflect the heat. Heat soak the ceramic for 30 to 45 minutes. Hold 400 to 450 on the dome. Cook on the flat face, finish on the ribbed face, clean it warm.
That is kamado griddle cooking in seven lines. Everything else is marketing, and a kamado's whole job is holding temperature. Give the iron a stable surface and it will do the rest.