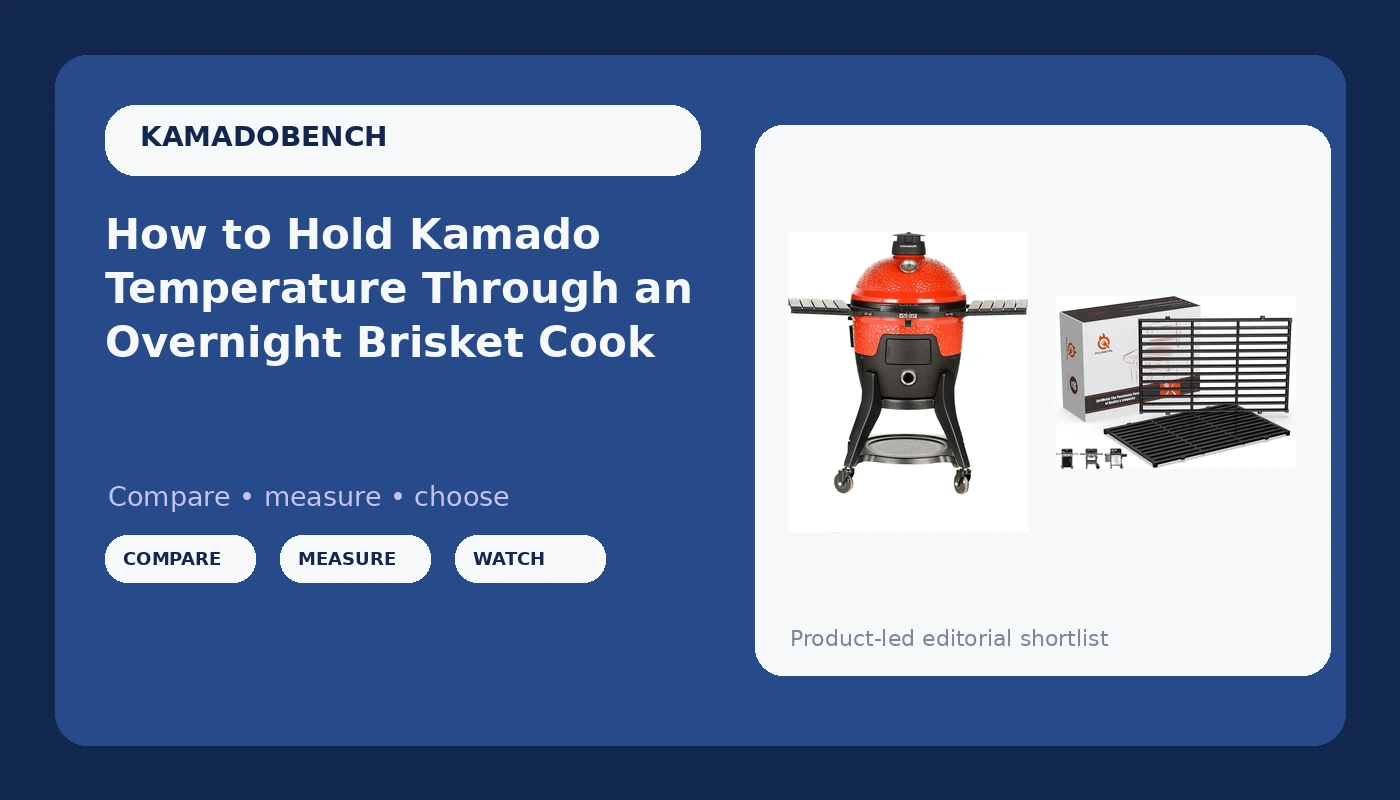
A kamado's whole job is holding temperature. Everything else on the spec sheet, the hinge, the shelves, the color of the lid, is marketing. Kamado temperature control comes down to three variables: how much fuel you lit, how much air you let in, and how long you let the ceramic heat soak before the meat goes on. Get those three right and a mid-priced cooker will hold 250 through a Georgia thunderstorm. Get them wrong and a four-figure cooker turns a $90 brisket into charcoal.
I have cooked competition barbecue for 18 years. I run two briskets a week, every week, year round, and I spent three years and six kamados finding out which ones hold temperature through weather and which ones quit at hour six. My backyard test kitchen is in Savannah, which means nothing I own gets an easy cook.
What follows is the overnight routine I actually run, not the set-and-forget fantasy from the brochure. It is the sequence, the mistakes that cost me briskets, and the two pieces of gear that make a long cook easier to survive.
Why you should trust me
I have cooked on everything from a rusty offset I bought for $150 to a $4,000 ceramic egg, and I have kept a temperature log for every kamado that spent time in my rotation. When I test a cooker, it gets 12 brisket cooks before I form an opinion. A kamado that holds 250 for four hours tells you nothing. Hour nine is where the truth shows up, and hour nine in Savannah usually means wind and rain.
I also read warranty fine print for fun, which is a strange hobby, but it is the difference between a cracked firebox being a phone call and a cracked firebox being a new cooker. That habit shapes everything I recommend here.
How I picked and how I tested
This is not a buying guide for kamados, it is the routine for running one overnight. But gear still matters, so here is how I judged the two pieces below.
Every overnight cook in my rotation gets judged on four things: how fast the cooker settles at target temperature, how much it drifts between midnight and 5 a.m., whether the gasket survives the cook, and how much lump is left when I shut the vents. Same load of lump, same deflector, same drip pan, same 12-pound packer, same 12 hours. When I compare gear, I ask three questions. Does it earn its footprint next to a cooker that already takes up half the patio? Does it survive a Savannah summer? Would I trust it with a $90 brisket?
If a piece of gear cannot answer all three, it does not make this list.
Gear that earns its place next to the kamado
Your kamado handles the long cook. It cannot handle everything else. You cannot sear a steak on a cooker that is heat soaked at 250 without a long ramp and a lot of wasted lump, and you cannot run sides on a cooker that is committed to a brisket until noon. So two pieces of gear earn their space.
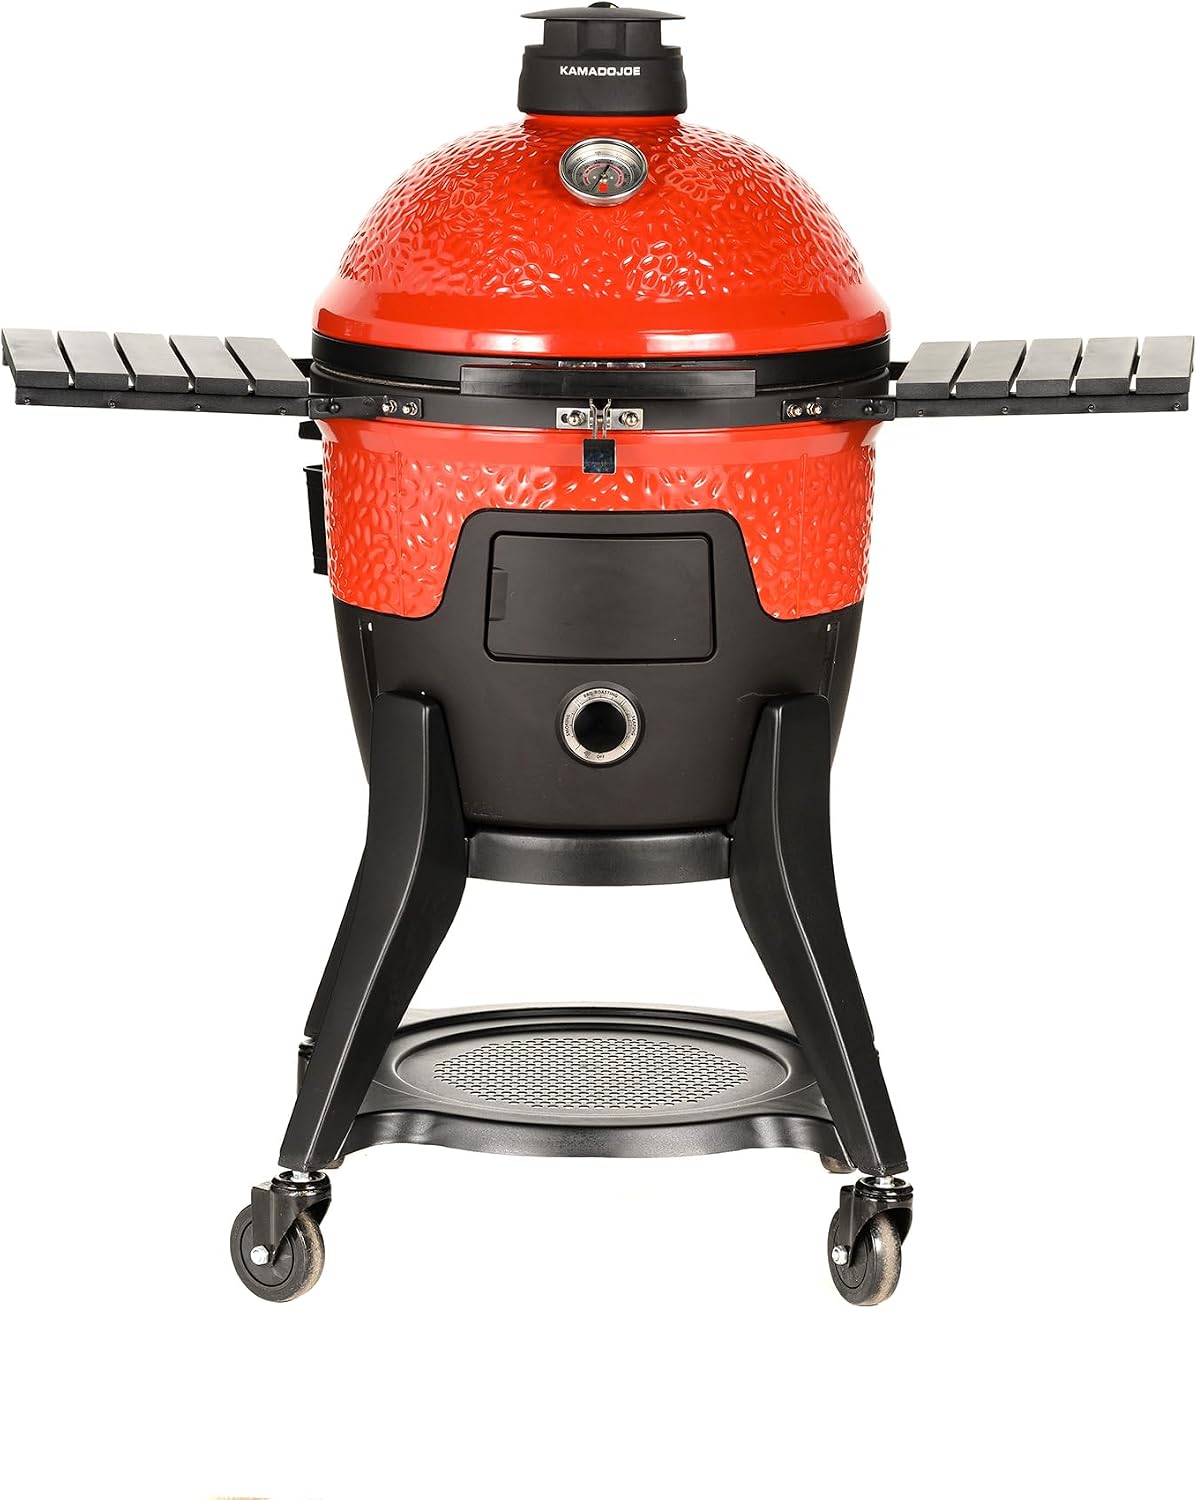
The ceramic pellet option: Kamado Joe Pellet Joe 18-inch Ceramic Pellet Grill and Smoker
 Visit on Amazon →
This is the cooker I point people toward when they want ceramic insulation but do not want to babysit a fire. It is an 18-inch ceramic body on a cart with side shelves, stainless steel grates, and 250 square inches of cooking surface, and it feeds wood pellets instead of lump. The thick ceramic is still doing the work that makes a kamado a kamado, which is holding heat instead of shedding it. What changes is fuel delivery. An auger and a controller decide how much fuel lands in the fire pot, so your job shifts from reading vents to keeping the hopper full and the power steady. Check current Amazon price.
Where it fits: overnight cooks when you want to sleep, and weeknight cooks when you want dinner at seven without lighting a chimney at four. The 250 square inches is an 18-inch class cooker, so a full packer brisket fits, but a big one will crowd the edges. Trim the corner of the flat or use a rack.
Flaws but not dealbreakers: Pellets need electricity, and a thunderstorm that takes the power out takes your cook with it. Pellet smoke is also milder than lump smoke, so if you want that heavy charcoal profile, this is not the cooker for it.
Anyone who wants ceramic heat retention without spending a season learning vent control will be happy here.
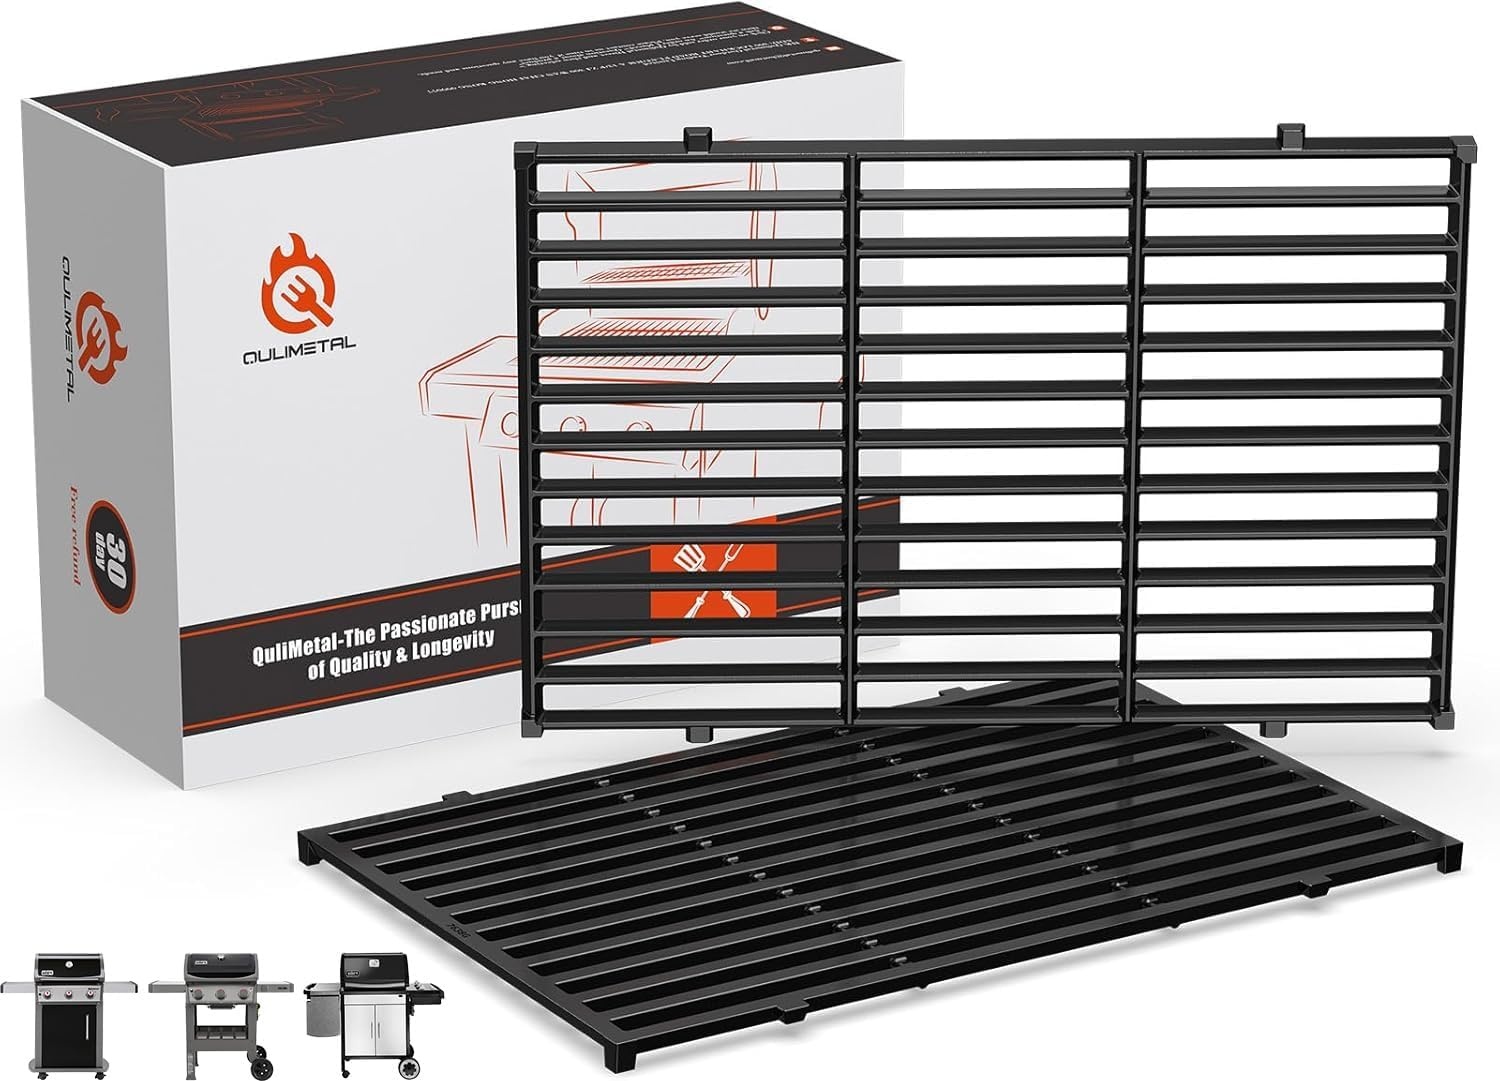
The searing surface: 17.5" Porcelain Enameled Cast Iron Grill Grates for Weber Spirit 300 Series
 Visit on Amazon →
Your kamado is booked for 14 hours. The steaks still need a sear, and you cannot ramp a heat-soaked ceramic from 250 to 600 without burning half an hour and a pile of lump. That is what a gas grill with real cast iron is for. These grates are 17.5 inches, porcelain enameled cast iron, and they are listed for the Weber Spirit 300 series, including the E310 and the GS4 Spirit II 300, plus the Genesis Silver and Gold B and C. Cast iron holds heat at the surface, which is what gives you a crust instead of a gray steak, and the porcelain enamel keeps them from rusting the way bare cast iron does when it sits out in Georgia humidity. Check current Amazon price.
Where it fits: anyone running a gas grill alongside a kamado. The kamado does the long cook, the gasser with these grates does the reverse sear and the sides.
Flaws but not dealbreakers: Porcelain enamel chips if you bang it around, and once it chips, the exposed iron starts to rust. Measure your existing grates and check your grill's model year before ordering, because "Spirit 300" covers a lot of grills across a lot of years.
Anyone who wants a hard sear on a weeknight without firing the ceramic will get real use out of these.
The overnight cook, step by step
Step one: Load the firebox like you mean it. Fill it to the top of the fire ring with lump, big pieces on the bottom and smaller pieces filling the gaps. No briquettes, they ash too much. A half-full firebox is how you end up relighting at 3 a.m.
Step two: Light from the top, not the bottom. Use a chimney or a torch, then dump the lit coals in the center on top of the pile. The fire works down and out from there, which gives you a long, slow, even burn. Lighting the whole bed is how you end up with a 700-degree kamado at midnight.
Step three: Heat soak for 30 to 45 minutes. Bring the cooker up to 200 with the vents wide open, then close them down to your target and wait. A dome that reads 250 after ten minutes is not stable, it is just early. Skip the heat soak and the cold meat will knock your temperature down, and you will spend two hours chasing it back.
Step four: Set the bottom vent first, then trim with the top. The bottom vent is your throttle, the top vent is your fine adjustment. Get close on the bottom, then use the top daisy wheel to finish. Make one change at a time and give it 15 minutes to respond. Kamados react slowly, and you will never out-adjust one by fiddling.
Step five: Add the deflector and a drip pan. Deflector in, legs up, foil it for easier cleanup. Drip pan under the grate with a little water if you want simple cleanup, or dry if you want a firmer bark. Kamados hold moisture well on their own, so a water pan is optional.
Step six: Clip a thermometer at the grate, not in the dome. Dome thermometers read the air at the top of the cooker, not the air where the meat is sitting, and the two can disagree by a wide margin. Clip a probe at grate level and put a second probe in the thickest part of the flat.
Step seven: Put the meat on cold and leave the lid closed. Straight from the fridge, and on a kamado I run the fat cap down toward the deflector because the heat comes from below. Then walk away. Every peek costs heat and adds time to the cook.
Step eight: Ride the stall and decide the wrap. Somewhere in the 150 to 165 range the brisket stalls while moisture evaporates off the surface. Wrap in butcher paper if you want bark, foil if you want speed, or leave it unwrapped if you have the time. This is preference, not law.
Step nine: Shut it down and save the lump. Close both vents all the way when the meat comes off. The fire dies, and what is left in the firebox starts your next cook. While it cools, check the gasket by closing the lid on a dollar bill and pulling. If it slides out with no drag, the gasket is done. Scoop the ash and look at the firebox for cracks, and know what your warranty covers before you need it.
What weather does to a kamado
Wind is the real enemy. A gust across the top vent pulls air through the cooker and your temperature climbs. Rain on the dome is not the problem, water running into the top vent is. If a front rolls through, do not chase the temperature. Wait for it to settle, then adjust once.
Humidity is the other one. A Savannah summer cook and a January cook behave differently, and the first genuinely cold morning of the year is when fireboxes crack, so bring the cooker up to temperature slowly when the weather turns. If you are running a pellet cooker, keep the cord and controller out of standing water and never run an extension cord across wet grass.
The competition and why it lost
The hardware store kamado-style grill loses on ceramic thickness. Thin walls mean it cannot hold heat, the gasket peels in a season, and the firebox cracks on the first cold snap. It is a $200 lesson in why the ceramic matters.
The offset stick burner makes the best bark of anything I have cooked on, and it needs an attendant every 30 minutes. That is fine in a competition trailer with a partner. It is not fine on a Tuesday.
The cabinet pellet grill is convenient and has more moving parts than anything else on this list. More parts means more to fail, and the insulation is not in the same league as a thick ceramic body.
The kettle is a great grill. It is not a 12-hour cooker. Ask it to hold 250 overnight and you will be up at 3 a.m. adding coals.
The ceramic kamado wins the overnight job for one reason: mass. Thick ceramic holds heat, and heat retention is the entire game.
What this all costs
Do not compare sticker prices. Compare cost per cook. Take what you spend on a kamado, a set of grates, a thermometer or two, and a bag of lump, then divide it by five years of cooking twice a week. That is more than 500 cooks, and the number per cook gets small fast.
The expensive route is the cheap cooker you replace in three seasons, plus the briskets you ruin learning its quirks. Fuel math matters too. Lump costs more per bag than briquettes, but a kamado burns less of it per cook and you reuse what is left when you shut the vents.
The controller question is the same math. Run the vents by hand for a few cooks first, because you cannot troubleshoot a controller if you never learned what your cooker does on its own. Then buy one if you want to sleep, not because you need it to hold temperature.
Stabilize the dome at 250 before you even think about the meat. Then leave the lid closed and let the ceramic do the job it was built to do.