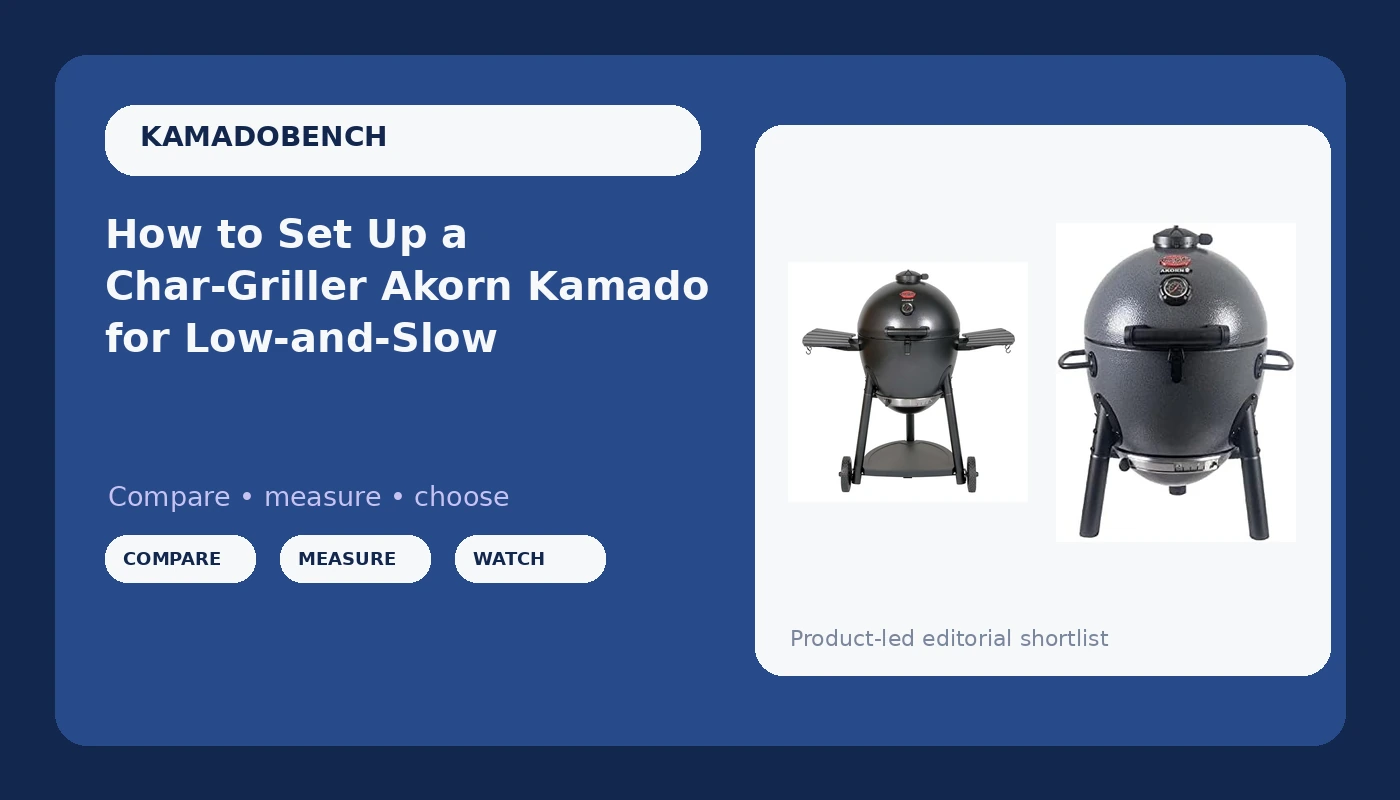
An Akorn kamado grill is not a ceramic egg, and that is the first thing to get straight before you give up a Saturday to learning how it runs. The Char-Griller AKORN is a steel-bodied kamado with double-wall construction, cast iron grates, a locking lid, and an ash pan you can empty without dragging out a shop vacuum. That design changes how fast it comes up to temperature, how it behaves in wind, and how you set the vents.
I have cooked on steel kamados and ceramic kamados side by side for years, and the setup rules below are the ones that decide whether your first packer brisket comes off clean or comes off looking like a lump of charcoal. Get the setup right once and the cooking part gets boring, which is exactly what you want.
Why you should trust me
I have been cooking competition barbecue for 18 years, starting on a rusty offset that leaked smoke from every seam. I run a backyard test kitchen where two briskets go on every week, year round, and I have spent three years and six kamados figuring out which cookers hold temperature through a Georgia thunderstorm and which ones turn a $90 brisket into trash.
My current project is a five-unit test of 2026 kamados under $1,000, with 12 brisket cooks on each and a full storm season logged in Savannah. I keep temperature logs on every cooker that comes through the yard, and I do not write about a grill until I have cooked on it enough to know how it fails. A kamado's whole job is holding temperature. Everything else is marketing.
How I set up and ran both Akorns
Both grills below got the same treatment. I assembled them out of the box, checked lid alignment with a dollar bill, ran a chimney of lump in each, and logged the dome temperature every 15 minutes until it stabilized. Then I cooked the same menu on both: a pork butt, a spatchcocked chicken, and a brisket flat.
For the steel-bodied Akorn, the important thing I watch is thermal drift. A ceramic kamado holds heat in the walls, so it responds slowly to vent changes. The steel Akorn responds faster, which is good news for a beginner and bad news for anyone who likes to fiddle. If you move the vents a quarter inch and walk away, you will see the result in 10 minutes, not 30.
I also checked the two failure points that matter on any budget kamado: the lid seal and the fire grate. A leaking gasket makes temperature control impossible, and a warped fire grate chokes the fire. Both are easy to check before you ever light a chimney.
Which Akorn belongs in your yard
The rule I use is simple. Buy the size that matches your Tuesday, not your Thanksgiving. A kamado is a lifetime purchase, and the one you actually use on a weeknight is worth more than the one that impresses the neighbors twice a year.
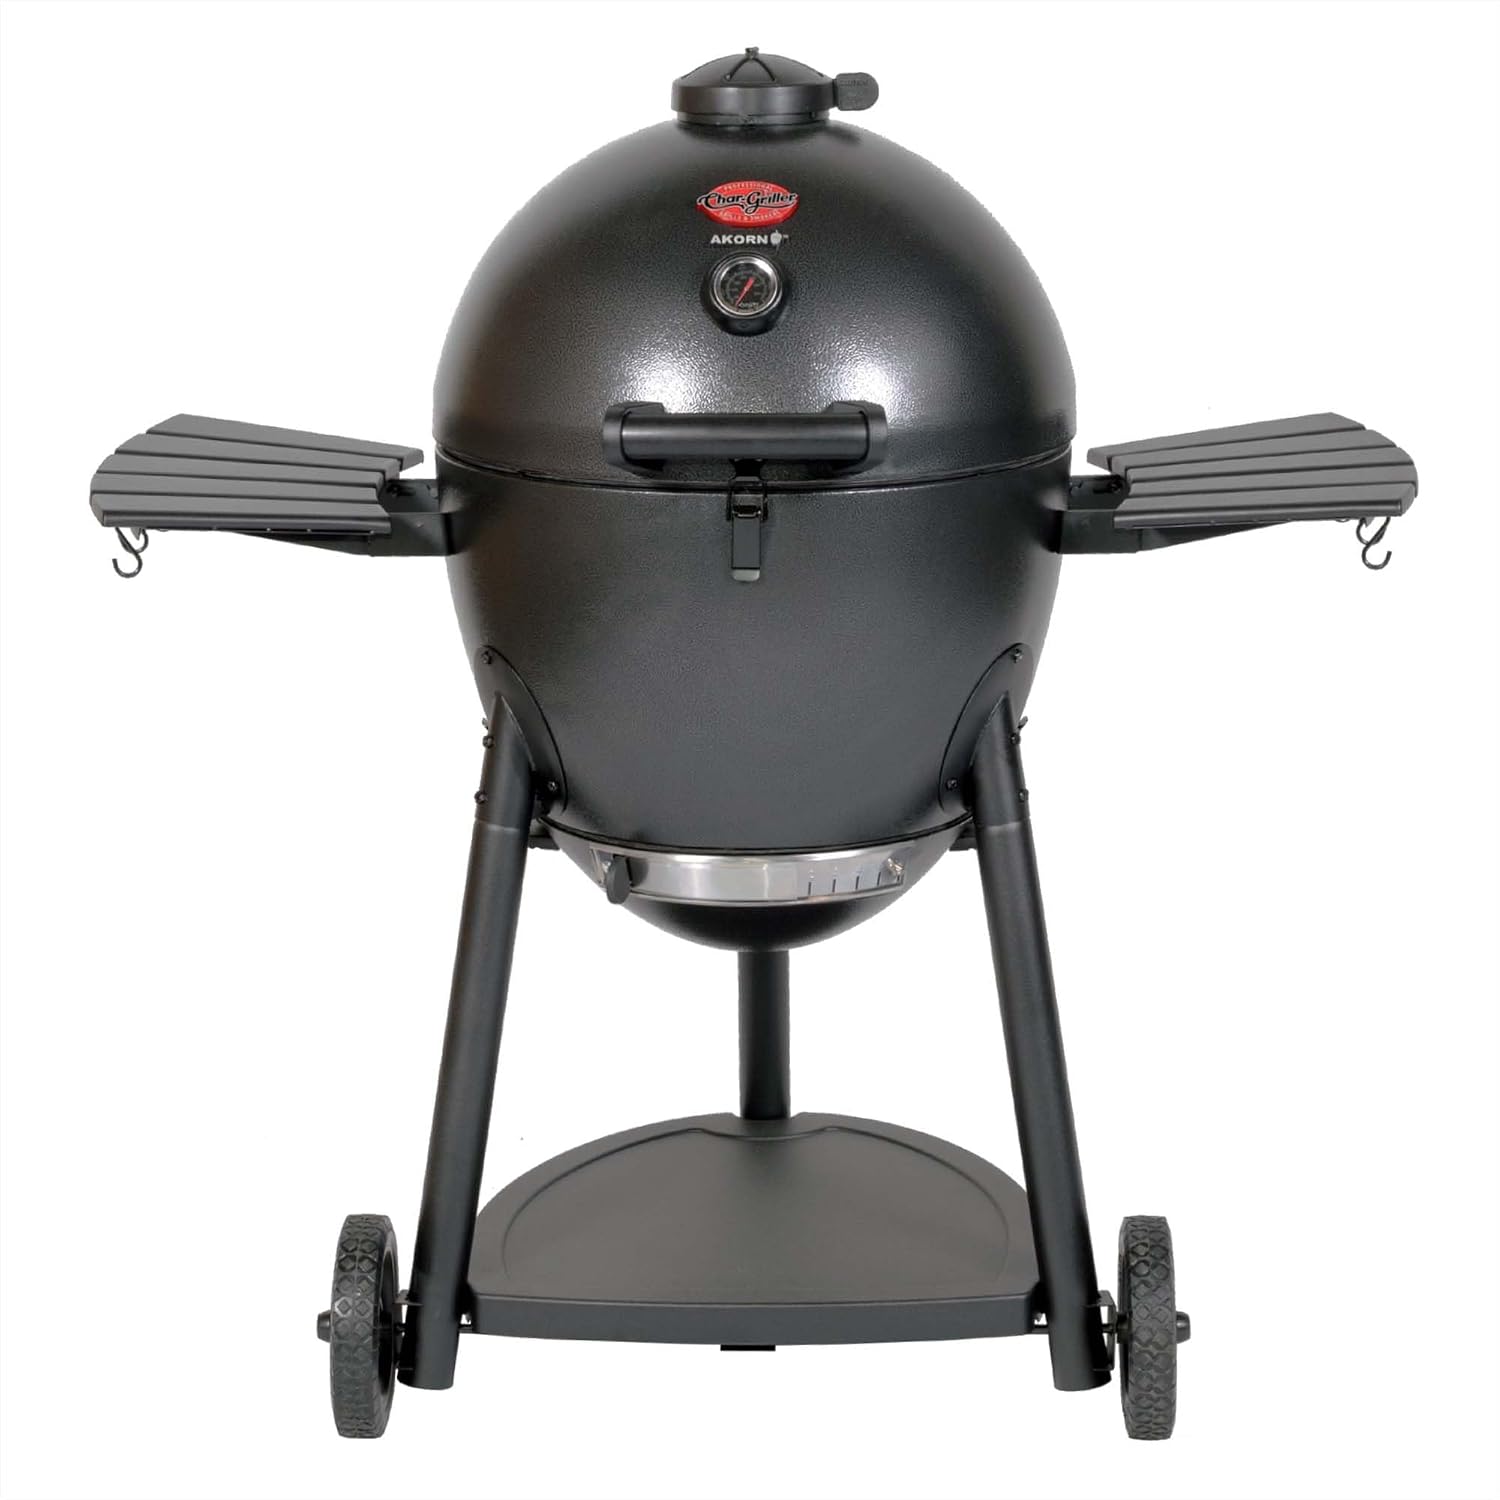
The full-size pick: Char-Griller AKORN Kamado Charcoal Grill and Smoker, Model E16620
 Visit on Amazon →
This is the one I would set up first if you are new to kamado cooking, because 445 square inches of cooking space forgives the mistakes you are going to make. You can run a whole brisket on the main grate, park a pork butt on the warming rack, and still have room for a foil pan of beans. The cast iron grates hold heat well enough to put a real sear on a steak, and the locking lid keeps the whole thing sealed when the wind picks up.
The ash pan is the feature I appreciate most after a 12-hour cook. On a lot of budget kamados you are scooping ash out of a ceramic bowl with a plastic cup. Here you pull a drawer.
Flaws but not dealbreakers: It is heavy, and it is not a ceramic cooker, so it will shed heat faster in a hard winter wind. A welder's blanket or a cheap windbreak fixes that. The cast iron grates also need seasoning before the first cook or your chicken thighs will weld themselves to the metal.
Anyone feeding four to eight people who wants one cooker that does low and slow and hot and fast should start here. If you only ever cook for two, this is more grill than you need.
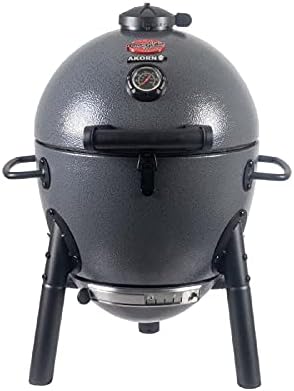
The portable pick: Char-Griller AKORN Jr. Portable Kamado Charcoal Grill and Smoker, Model E86714
 Visit on Amazon →
The AKORN Jr. is the grill I recommend to people in apartments, tailgaters, and anyone who wants to learn vent control without burning through 10 pounds of lump every cook. At 155 square inches, it is a two-zone cooker at best: a couple of steaks, four burgers, a small chicken, or one rack of ribs.
Here is the honest caveat. A small fire is a twitchy fire. Because the Jr. holds less charcoal, every vent adjustment moves the temperature more, and a gust of wind hits it harder. That makes it a great teacher and a frustrating first kamado if you expect it to behave like a full-size cooker on your very first brisket. Learn on chicken and ribs, not on a $90 packer.
Flaws but not dealbreakers: The cooking grate is close to the fire, so flare-ups happen faster on fatty cuts. Keep a spray bottle handy and cook indirect. The lid is light enough that you will want to check the latch before you carry it by the handle.
Anyone with a balcony, a tailgate, or a small family who wants real kamado flavor in a footprint the size of a cooler should look at this one first.
What you need before the first fire
You do not need much, and you should not buy a cart full of accessories before your first cook. Skip the pizza stone, the rotisserie ring, and the cover until you know how you actually use the grill.
- Lump charcoal, not briquettes. Briquettes throw more ash and more filler, and ash is what chokes a kamado fire.
- A chimney starter and a fire starter cube. Lighter fluid has no place anywhere near a kamado.
- A two-probe digital thermometer, one for the food and one for the grate. The dome thermometer tells you about the air, not about your brisket.
- Long heat gloves, not the little cotton mitts that come free with a bag of charcoal.
- A foil drip pan and a roll of heavy foil.
- A level surface. A kamado that rocks will not hold a seal, and an unsealed kamado will not hold temperature.
The first-fire workflow, step by step
Step one: Check the lid seal before anything else. Close the lid and slide a dollar bill around the rim. It should drag evenly all the way around. If it slides out with no resistance anywhere, the gasket is not sealing and no amount of vent fiddling will save your cook. Adjust the hinge or reseat the gasket first.
Step two: Season the cast iron grates. Warm them, wipe them with a thin coat of a high smoke point oil, and let them sit at 350 degrees for 20 minutes. Do this before food ever touches them.
Step three: Load the firebox using the minion method. Fill the firebox with unlit lump, then nestle a chimney of lit coals into the top center. This gives you a small hot spot that spreads slowly, which is how you get a long cook instead of a hot flash.
Step four: Open the vents all the way and light it. Bottom vent wide, top vent wide. Let the fire establish for 10 minutes with the lid open so the charcoal catches cleanly. You are looking for thin blue-gray smoke, not thick white smoke.
Step five: Close the lid and let it heat soak. This is the step everyone skips. A steel-bodied kamado comes up fast and then drifts. Set your target, wait 30 to 45 minutes, and let the dome temperature flatten out before you even think about meat.
Step six: Bring it down slowly. If you overshoot, close the vents partway and wait. Slamming the vents shut on a hot fire causes a temperature crash and then a spike when the coals catch back up.
Step seven: Cook with the lid down. Every time you open the lid, you dump heat and feed the fire oxygen. On a kamado, the answer to almost every question is "close the lid and wait."
Step eight: Shut it down and clean the ash. Close both vents completely when you are done. The fire will snuff itself out in about 30 minutes and you can reuse the leftover lump. Empty the ash pan the next day, never while the fire is live.
Vent settings that actually hold temperature
Think of the bottom vent as the throttle and the top vent as the trim. Big moves happen at the bottom. Fine adjustments happen at the top.
For 250 degrees, which is where brisket and pork butt live, start with the bottom vent open about a quarter inch and the top daisy wheel barely cracked. That is it. If you are running hotter than you want, close the bottom vent a hair and wait 10 minutes before you touch anything again.
For 350 degrees, chicken and ribs territory, open the bottom vent to roughly half an inch and open the top vent a third of the way. For a hot sear at 500 or above, both vents wide open and give it 15 minutes.
Two things make this easier. First, mark your vent positions with a paint pen so you can return to a setting you liked. Second, learn to read the smoke. Thin blue smoke means a clean fire and good food. Thick white smoke means the fire is starved or the fuel is wet, and it will leave a bitter bite on anything you cook.
The mistakes that cost you a brisket
Chasing temperature is the number one killer. New kamado cooks see 240 and panic, then see 260 and panic again, and spend the whole cook turning dials. Pick a target, adjust in small increments, and give the cooker 15 minutes to answer. A kamado that swings 15 degrees over a 10-hour cook is doing its job.
Not cleaning the ash is the number two killer. Ash builds up under the fire grate, blocks airflow, and your fire dies at hour six with half a brisket left to go. Empty the ash pan before every long cook.
Opening the lid to look is the number three killer. You cannot learn anything by staring at a brisket, and you can lose 30 minutes of heat every time you do it. Use your probe thermometer.
The last one is fuel. Cheap briquettes and wet lump produce ash and acrid smoke, and no vent setting fixes bad fuel. Buy good lump and store it dry.
What this all costs
The two cookers here cover both ends of the size question. Check current Amazon price on each and decide which footprint fits your yard, because the difference in price between them is smaller than the difference in how often you will use them.
The rest of the list is cheap and boring: a chimney, gloves, a thermometer, and a drip pan. If you already own a charcoal grill, you probably own half of it. Compare that to what a ceramic kamado costs and the value math on a steel-bodied cooker becomes pretty obvious.
The real savings are in fuel. A kamado snuffs out with lump still unburned, and you scoop that leftover charcoal back into the firebox for the next cook. Over a season of two briskets a week, that adds up more than any accessory you could buy.
The bottom line
Set the seal, season the grates, load the fire with the minion method, and give the cooker 45 minutes to heat soak before the meat goes on. Then keep your hands off the vents and let the kamado do the one thing it is good at.
Learn to run the vents on a chicken before you trust yourself with a packer brisket. A kamado needs attention, period. It does not need you hovering, and it will absolutely punish you for it.