Build the station around the way you cook
Learning how to choose and use kamadobench equipment and setup begins with a practical question: what must the station help you do?
A kamado can grill, roast, smoke, bake, and sear, but a larger bench or a drawer full of accessories will not automatically make those jobs easier. The useful setup is the one that keeps the cooker stable, leaves the vents accessible, provides a clean place to work, protects fuel and tools from the weather, and makes temperature control repeatable.
Many kamado problems begin outside the cooker. The lid cannot open comfortably. The preparation surface is too small for a tray. Charcoal absorbs moisture in an exposed cabinet. Tools are scattered across the yard. The fire is lit before the cooker has time to heat-soak. Then the cook blames the ceramic grill for being difficult.
Often, the arrangement is difficult.
A good kamadobench should reduce decisions during a cook. It should give you a logical place for fuel, tools, food, gloves, thermometers, and cleaning equipment. It should also leave enough open space around the hot cooker for safe movement and ventilation.
This guide explains how to choose a practical station, organize the equipment around it, and use the setup during real cooks.
Decide what the bench must support
Start with your normal cooking pattern instead of shopping from a catalog. A compact stand may be sufficient for weeknight grilling. A larger station can be worthwhile if you smoke large cuts, cook for groups, or prepare most of the meal outdoors.
Consider these questions:
- Do you mostly cook directly over high heat?
- Will you regularly run low-and-slow cooks for several hours?
- Do you need space for trays, ingredients, or wrapping materials?
- Will the station store charcoal, gloves, tools, and cleaning supplies?
- Does the cooker need to move, or will it remain in one position?
- Will one person use the station, or will several people work around it?
- Is the location exposed to rain, salt air, strong sun, or high humidity?
- Do you need room for a separate thermometer or temperature controller?
Your answers should determine the bench layout. Someone cooking burgers and vegetables may prioritize quick access and a clear worktop. Someone cooking brisket needs a stable place for pans, butcher paper, probes, gloves, and fuel while the cooker remains hot for many hours.
Do not choose equipment because it makes the outdoor area look like a commercial kitchen. Choose it because it removes a recurring problem from your cooking routine.
Measure the location before buying
Measure the full space where the bench will sit. Include width, depth, height, and the area required when the kamado lid is fully open. Then measure the walking path around the station. A bench can fit within its footprint and still become awkward when a drawer is extended or a hot tray must be carried past it.
Check the following:
- The complete bench footprint.
- The cooker’s lid-opening arc.
- Clearance around the lower and upper vents.
- Standing room for the cook.
- Door, drawer, and shelf swing.
- The route for bringing the bench and cooker into place.
- Clearance from walls, fences, roofs, and combustible structures.
- Drainage and the likelihood of standing water.
- Access to electrical power if a controller or light will be used.
A quick sketch is useful. Mark the cooker, the bench, the direction the lid opens, nearby structures, walking routes, and the location of fuel storage. This exposes problems that product photographs usually conceal.
Vent access deserves particular attention. Kamado temperature control depends on airflow, so the lower vent must remain easy to see and adjust. Do not place the cooker in a corner or surround it with storage that forces you to reach over a hot surface. Follow the safety and clearance instructions supplied with the cooker and bench. If those instructions conflict with a convenient layout, change the layout.
Put stability ahead of storage
A kamadobench must support the cooker securely before it provides shelves or cabinets. Storage is useful, but it cannot compensate for a structure that flexes, rocks, or shifts when the heavy lid opens.
Inspect the support arrangement and ask:
- Is the bench rated for the weight of the cooker?
- Does it remain stable on the actual surface where it will stand?
- Do locking wheels hold firmly?
- Can the station be leveled?
- Is the cooker supported in a purpose-built opening or on a stable platform?
- Can you work without leaning against the bench?
- Are the connections tight and easy to inspect?
A ceramic cooker creates a substantial static and moving load. The bench must remain reliable during loading, cleaning, opening, closing, and repositioning. If it arrives as a kit, inspect every joint before placing the cooker on it.
Level the station before the first cook. Do not use loose scraps of wood or unstable objects to correct a slope. Fix the base or use an appropriate leveling method designed for the surface.
Never move a loaded cooker casually. Remove fuel, trays, tools, and loose accessories first. If the cooker is ceramic, treat relocation as a two-person task unless the manufacturer specifically provides another safe procedure.
Select materials for the real environment
Outdoor cooking furniture deals with moisture, grease, sunlight, ash, heat, and dirt. Humid or coastal conditions can accelerate corrosion and damage exposed fasteners. A covered patio may protect the bench from rain but still trap moisture underneath a cover.
When comparing materials, consider:
- Resistance to moisture and corrosion.
- Ease of wiping away grease and food residue.
- Access to fasteners and joints for inspection.
- Response to seasonal expansion and contraction.
- Repairability if a shelf or panel is damaged.
- Heat resistance near the cooker.
- Whether water can drain rather than collect inside cabinets.
Wood may need regular sealing in a wet climate. Metal may need attention around scratches, cut edges, and exposed hardware. Coated or composite surfaces can be easy to clean, but their joints still require inspection.
Keep charcoal, paper products, oils, towels, and other flammable materials away from hot surfaces. The bench should separate storage from the heat source rather than crowding both into one compartment.
Organize the station into working zones
A useful kamadobench generally has three zones: the hot zone, the preparation zone, and the support zone.
The hot zone
This includes the cooker and the area immediately around it. Keep this area open. Do not stack packaging, towels, loose utensils, or bags of fuel beside the cooker. You need room to adjust vents, lift the lid, move a grate, and respond to an unexpected flare-up.
The hot zone should also provide a safe place for heat-resistant gloves and tools. Keep them close enough to reach, but not on a surface that becomes hot during the cook.
The preparation zone
This is the clean work surface for ingredients, trays, seasonings, probes, and wrapping materials. It should be close enough to reach without abandoning the cooker, while remaining far enough away that smoke and radiant heat do not make it uncomfortable.
Organize raw and cooked food handling deliberately. Use separate trays when appropriate, clean spills promptly, and never place cooked food where raw juices have collected.
The support zone
This includes charcoal, ash tools, spare thermometers, covers, cleaning supplies, and equipment used less often. Keep fuel dry and off the ground. Store ash tools separately from the clean preparation area. If the bench has cabinets, avoid turning every compartment into a miscellaneous drawer; labeled zones are faster to use.
A good layout reduces unnecessary movement without turning the station into a crowded warehouse.
Choose equipment that improves control
The first equipment priority is temperature management. A reliable cooker thermometer is essential, and a separate probe can be useful when you want to monitor food or compare grate temperature with dome temperature.
Your basic setup may include:
- Heat-resistant gloves or mitts.
- Long-handled tongs and spatulas.
- A sturdy tray for moving food.
- A suitable drip pan.
- A safe method for handling hot grates and heat deflectors.
- A grate-cleaning brush or tool.
- An ash-removal container.
- A weather-resistant cover.
- A small light for evening cooks.
- Cable management for probe thermometers.
You do not need every accessory on the first day. Add equipment when a repeated problem justifies it. If you cannot explain how a tool will help during a normal cook, it probably does not belong in the first version of the station.
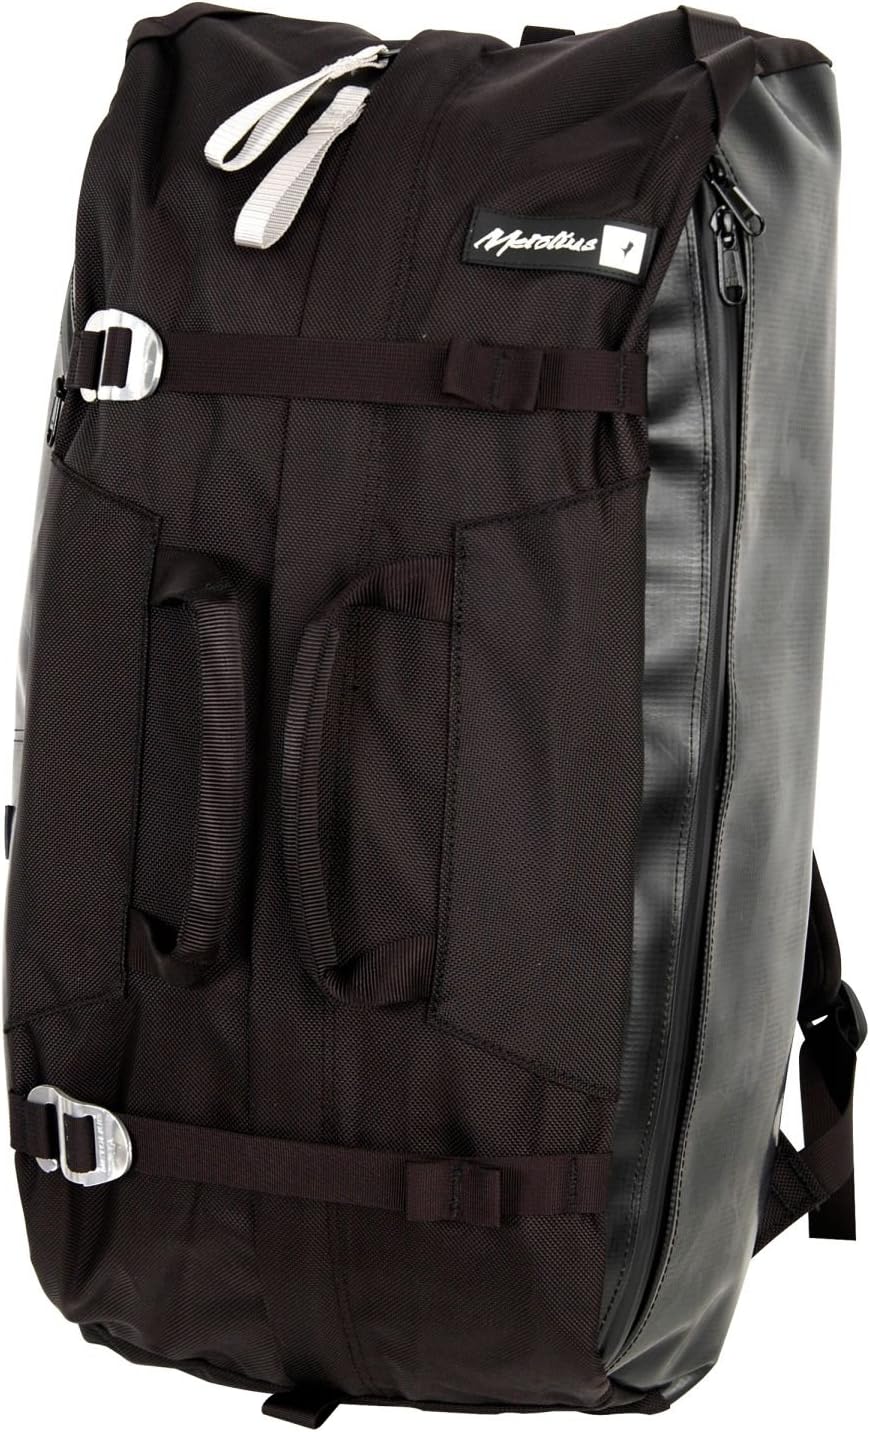
Storage equipment should also match the job. A compact organizer or durable pack can keep smaller tools together when the bench has limited drawers. The important qualities are secure storage, easy access, and resistance to the environment. Do not confuse a general-purpose equipment bag with a heatproof or food-safe container; use each item within its intended role.
Prepare the fire before the food
The most common kamado mistake is adding food before the fire and cooker are ready. Light the charcoal consistently, arrange it so air can move through the fuel, and install the intended cooking configuration before the cooker becomes difficult to handle.
For low-temperature cooking, avoid building an unnecessarily aggressive fire. Once the cooker rises well above the target, closing the vents may slow it, but the ceramic and internal components can retain heat and continue pushing the temperature upward. Small adjustments are easier than dramatic corrections.
As the cooker approaches the target temperature, reduce the size of each vent adjustment. Watch the trend rather than reacting to every minor movement. A briefly correct thermometer reading is not the same as a stable cooking environment.
Allow the kamado to heat-soak before adding food. Around 30 to 45 minutes may be appropriate for many setups, although weather, fuel, cooker size, and the internal configuration can change the required time. The goal is a stable system, not merely a number that appeared once on the dial.
Use the vents patiently
The lower and upper vents regulate oxygen and exhaust. Their exact positions vary with the cooker, charcoal, weather, and desired temperature, so there is no universal setting that works every time.
Begin with modest openings and wait long enough to see the effect. Opening both vents widely can create a fast climb. Closing both too far can starve the fire. The objective is to establish a steady airflow pattern rather than make constant corrections.
Keep a simple cooking record. Note the approximate vent positions, weather, fuel arrangement, starting conditions, cooking temperature, and result. After several cooks, you will have a reference for your own cooker and location. That is more useful than copying a setting from someone using different charcoal in different weather.
A stable bench helps with this process because the thermometer, tools, gloves, and fuel remain in predictable locations. Less searching means fewer unnecessary lid openings and fewer rushed adjustments.
Protect the gasket and firebox
The gasket helps seal the lid and allows the cooker to respond predictably to vent changes. Keep the sealing surfaces reasonably clean, avoid slamming the lid, and inspect the gasket for lifting, compression, burning, or gaps.
The firebox holds the fuel and experiences repeated heating and cooling. Inspect it during routine cleaning for cracks, movement, or pieces that obstruct airflow. Some cracking can occur during normal use, but components that shift or create an unsafe condition require attention. Consult the cooker’s instructions and warranty information rather than guessing.
Do not pour cold liquid into a hot ceramic cooker. Avoid striking ceramic parts with tools, grates, or heavy cookware. Let the cooker cool before deep cleaning or moving internal components.
Clean after every cook
A clean station is easier to use and safer around food. After the cooker has cooled:
- Remove food scraps and visible grease.
- Wipe the preparation surface.
- Return tools to their assigned locations.
- Manage ash according to the cooker instructions.
- Confirm that vents are not blocked by ash.
- Clean thermometer cables and accessories as appropriate.
- Protect charcoal from moisture.
- Inspect wheels, fasteners, shelves, and doors.
- Cover the equipment only after it is cool and dry.
Routine maintenance should be simple enough that you actually do it. Avoid aggressive cleaning methods that can damage a gasket, finish, or ceramic component.
Decide whether a temperature controller is worthwhile
A temperature controller can help during long or overnight cooks, especially when repeated manual checks are inconvenient. It is not a replacement for understanding the vents.
First learn to light the cooker, manage airflow, recognize overshoot, and stabilize the temperature manually. Once those skills are familiar, a controller can add convenience for specific cooking jobs. It still requires correct installation, suitable power, protected cables, and supervision. No controller makes a kamado completely unattended.
Use a repeatable checklist
Before every cook, confirm the following:
- The bench is stable and level.
- The cooker is properly supported.
- The vents are clear and accessible.
- The gasket and lid closure look normal.
- Charcoal is dry and arranged correctly.
- The cooking configuration is installed before the cooker becomes hot.
- Thermometers can be read safely.
- Flammable materials are away from hot areas.
- Gloves, tools, trays, and cleaning supplies are ready.
- The cooker has enough time to heat-soak.
- Vents are adjusted gradually.
- Food is added only after the temperature stabilizes.
After cooking, close the vents according to the cooker’s instructions, allow the unit to cool fully, manage the ash, and inspect the bench before storing equipment or applying a cover.
Final buying advice
The best kamadobench setup is not the one with the most equipment. It is the one that makes important work easier: stable support, clear vent access, dependable temperature monitoring, clean preparation space, dry fuel storage, and enough room to handle hot food safely.
Buy for your actual cooking routine rather than an imagined outdoor kitchen. Start with a sound bench, a reliable thermometer, heat protection, basic cleaning tools, and an organized layout. Add storage or accessories only when your cooks show you what is missing.
A kamado rewards patience and organization. Stabilize the cooker before thinking about the food, keep the vents accessible, respect heat soak, and maintain the gasket and firebox. The bench should make those habits easier and more consistent.
PRODUCT_TABLE_V2_START

Metolius Crag Station Pack : Climbing Hardware
A compact equipment-storage option for organizing smaller kamadobench accessories, provided it is kept away from heat, grease, flames, and direct food-contact use. Use it as general gear organization rather than as a heatproof or food-safe container.
Metolius Crag Station Pack : Climbing Hardware
Useful for keeping selected small tools or setup accessories together when your kamadobench has limited drawer space. Keep the pack in the support zone, away from the hot zone and from spills.
Metolius Crag Station Pack : Climbing Hardware
This can help separate less-used equipment from the primary cooking tools. Label the contents clearly so the pack improves organization instead of becoming another miscellaneous storage container.
Metolius Crag Station Pack : Climbing Hardware
Consider it for portable organization when accessories need to move between the bench, storage area, and cooking location. Do not use it near open flame, hot ceramic, ash, or greasy food-preparation surfaces.